Erie & Pittsburgh Branch Model Railroad 2005 Pictures
Due to popular request, I'm posting some pictures of the layout through its construction. The newest pictures are at the top.
Other pictures
December 17, 2005
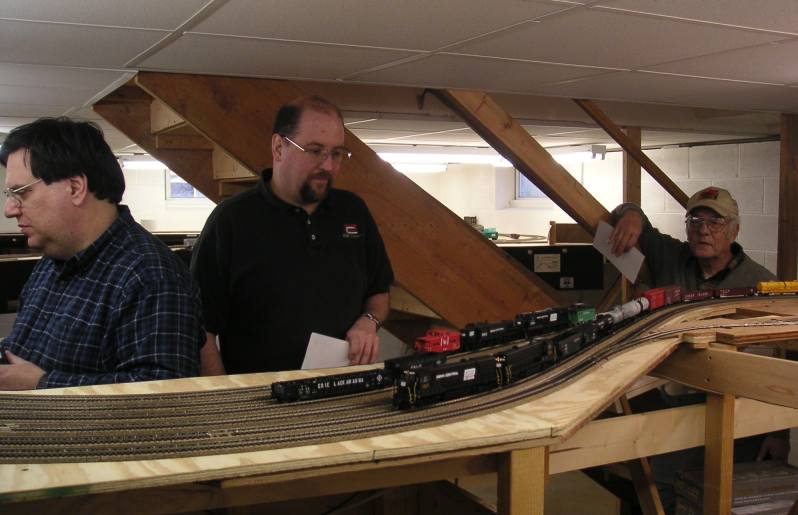
The day had finally arrived for the layout's inaugural operating session. This was to be a shakedown run to find any problems before scenery construction begins. The crew consisted of Rich Lewis, Fred Lotte, Brad White, and me.
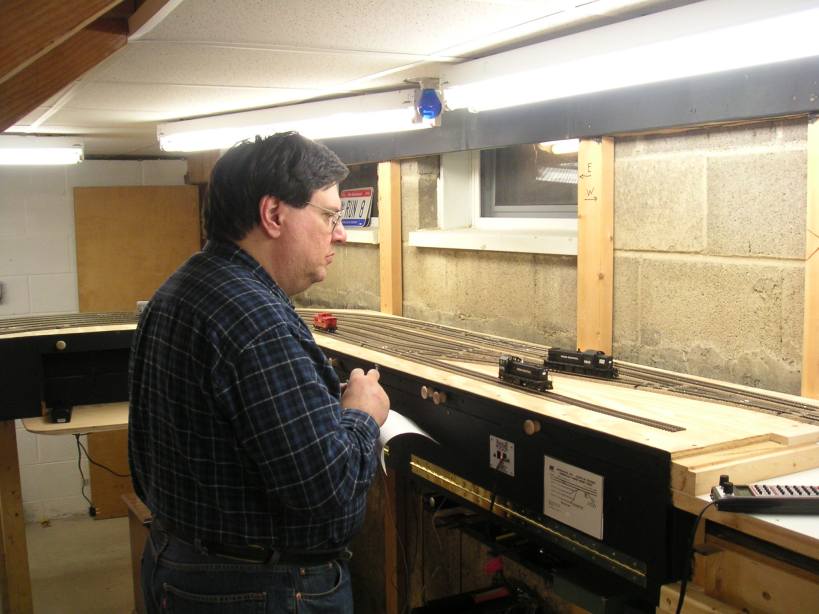 Brad drew the first train, a local from Moravia Yard into New Castle. Here, Brad is starting to build his
train at the yard.
Brad drew the first train, a local from Moravia Yard into New Castle. Here, Brad is starting to build his
train at the yard.
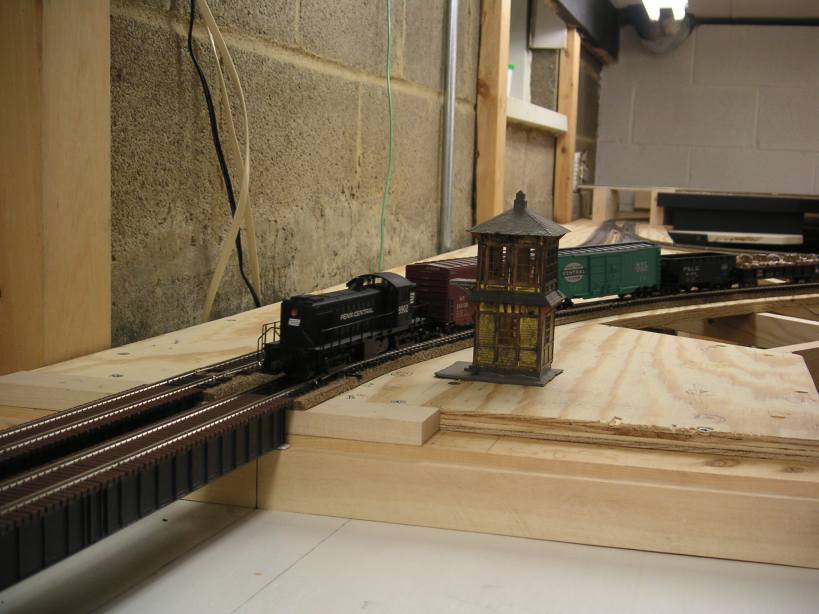
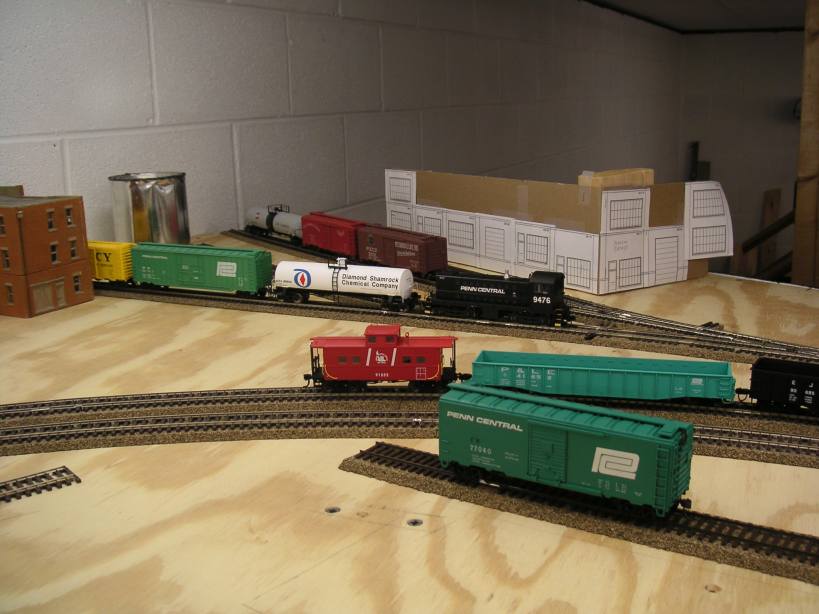
 The first local into New Castle passes Castle Tower and enters the E&P Branch.
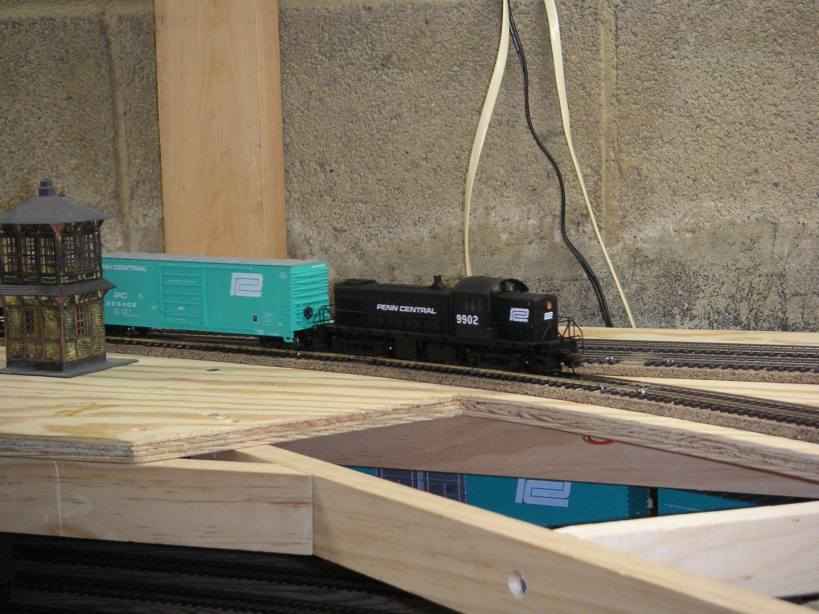
 Meanwhile, train CNC-2 arrives from Youngstown and is about to cross over at Castle interlocking and terminate
at Moravia Yard.
Meanwhile, train CNC-2 arrives from Youngstown and is about to cross over at Castle interlocking and terminate
at Moravia Yard.
 Brad is busy working the north side of New Castle near Union Brewing and Shenango Ceramics.
 The first local passes Castle Tower and is about to cross the Mahoning River bridge on its way back to Moravia
Yard.
The first local passes Castle Tower and is about to cross the Mahoning River bridge on its way back to Moravia
Yard.
 A westbound loaded coal train passes Moravia Yard.
 Rich Lewis brings westbound freight PY-3 up to Moravia Yard to prepare for making its pickups and setouts.
 The Houston Local for the Houston Secondary prepares to leave Moravia Yard.
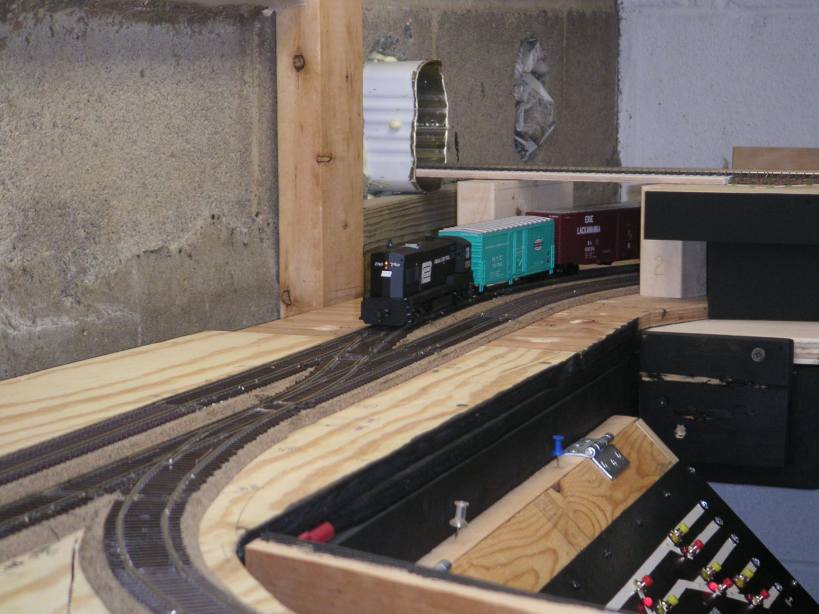
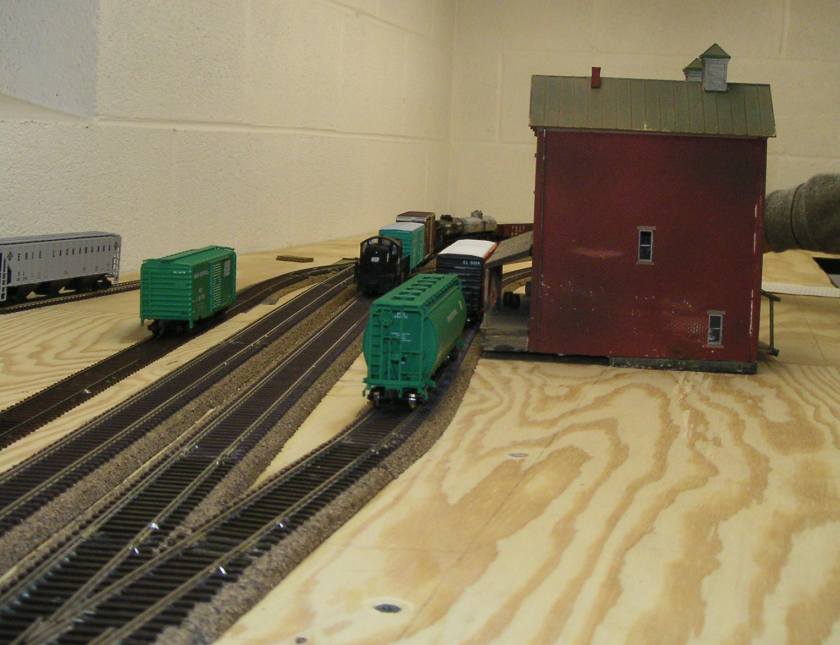
 Brad works the industries off the Houston Secondary on the east side of New Castle.
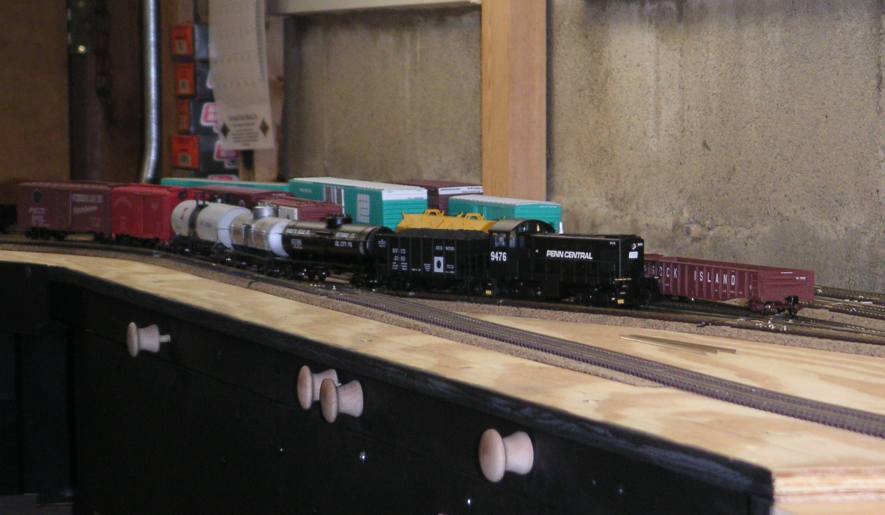
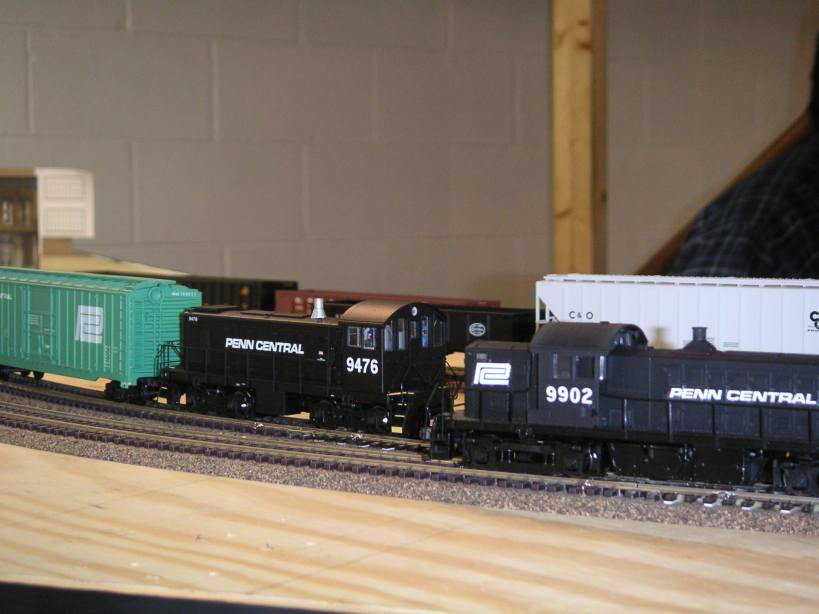 Action-packed at Cherry Street! The Houston Local (with the 9476) holds on the New Castle Secondary Track while the
last New Castle Local passes on the E&P main line.
Action-packed at Cherry Street! The Houston Local (with the 9476) holds on the New Castle Secondary Track while the
last New Castle Local passes on the E&P main line.
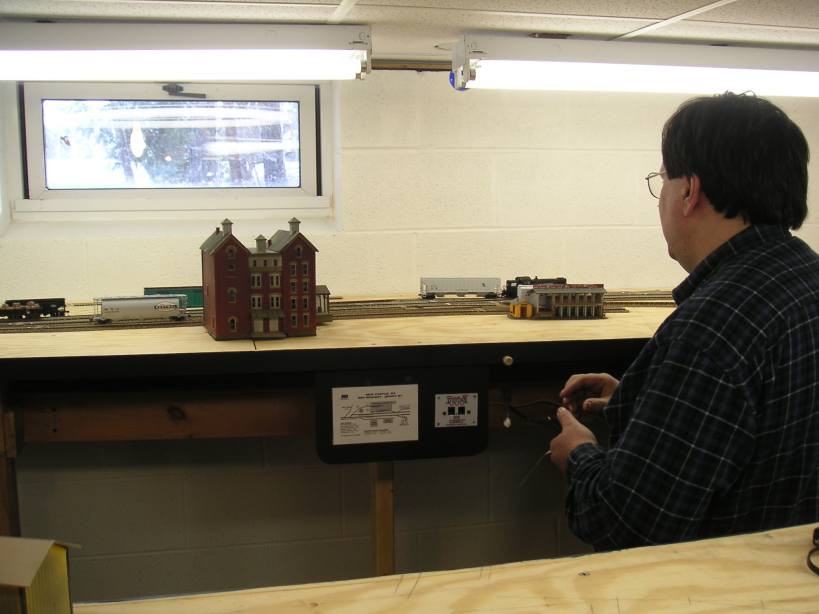
 We are looking railroad east from the McCleary Avenue crossing on the north side of New Castle, while in the
distance the last New Castle Local prepares to make a setout at Preston & McKinley Oil. To the left will
eventually be a scratchbuilt version of the Shenango Ceramics complex. The track with the gray covered hopper
will be inside the building. Union Brewing is on the right.
We are looking railroad east from the McCleary Avenue crossing on the north side of New Castle, while in the
distance the last New Castle Local prepares to make a setout at Preston & McKinley Oil. To the left will
eventually be a scratchbuilt version of the Shenango Ceramics complex. The track with the gray covered hopper
will be inside the building. Union Brewing is on the right.
May 8, 2005
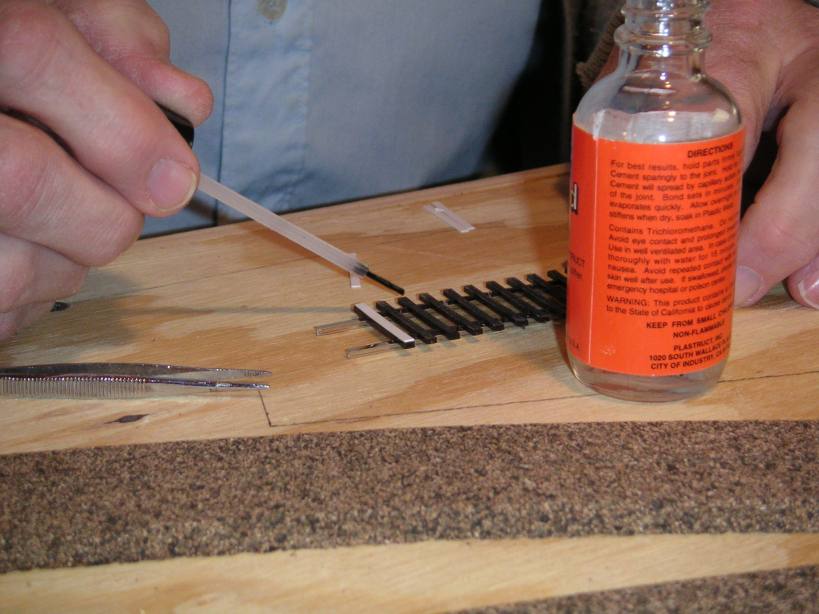
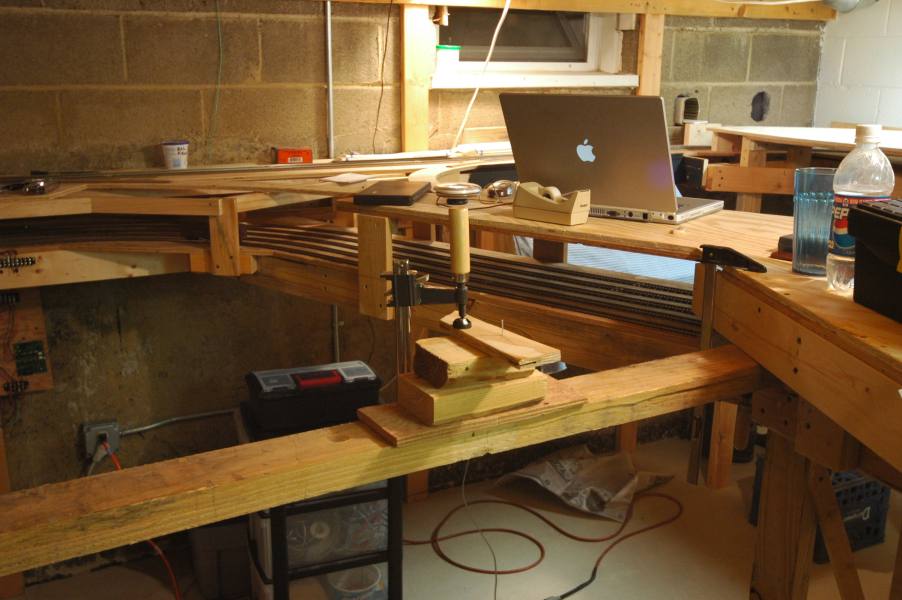
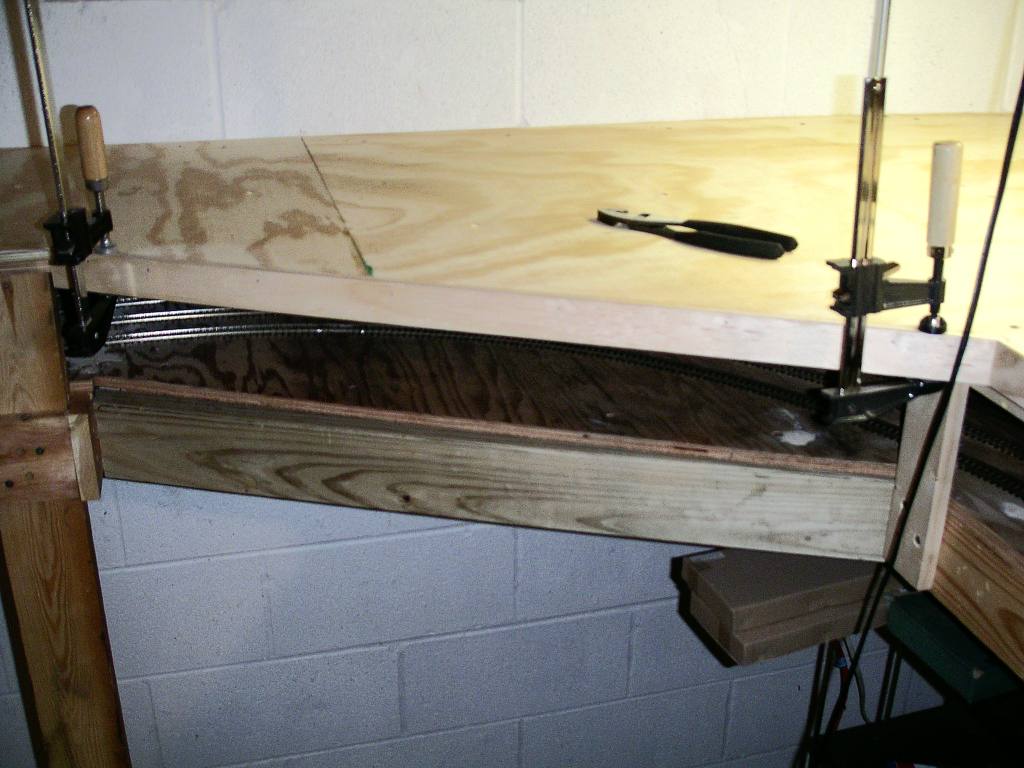
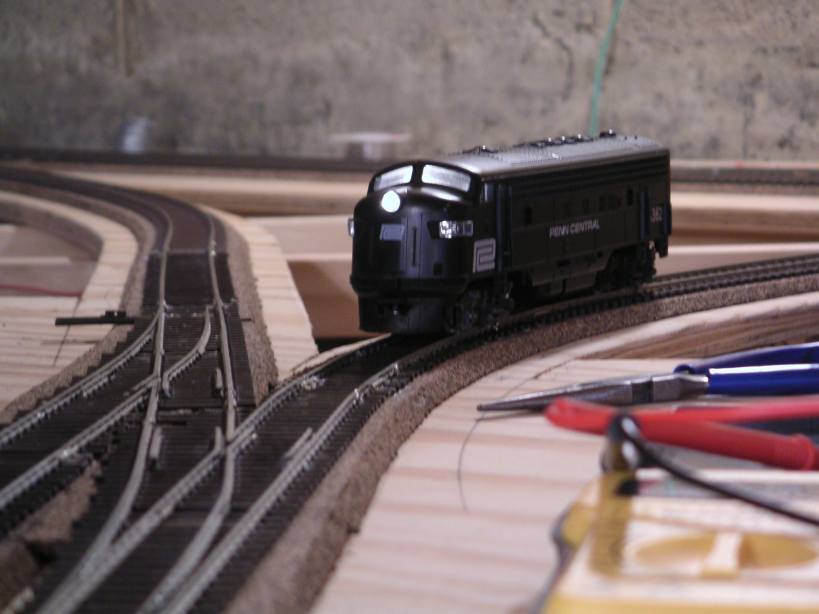 On this day we began wiring the track in New Castle. Here, FP7 4362 is being used to test the track on the Cross
Cut Secondary Track at the Castle wye.
On this day we began wiring the track in New Castle. Here, FP7 4362 is being used to test the track on the Cross
Cut Secondary Track at the Castle wye.
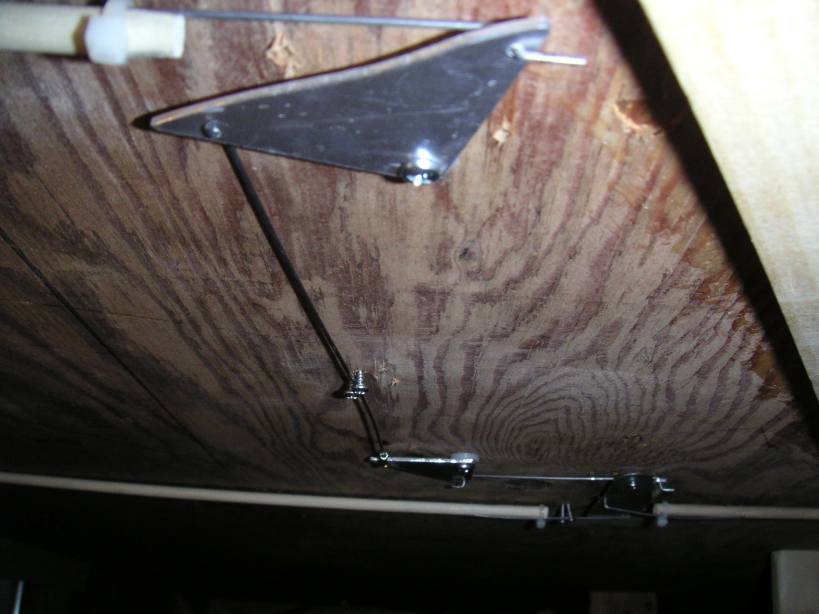 Fred also worked on the linkage for the pushrod-controlled manual crossover at Washington Street. Here is part
of the linkage. The rod coming in from the right connects to the pushrod knob on the facia. It attaches to a floating lever
that is then connected to the turnouts--one directly, the other through a pair of bell cranks--so that moving the pushrod
will operate both turnouts at the same time.
Fred also worked on the linkage for the pushrod-controlled manual crossover at Washington Street. Here is part
of the linkage. The rod coming in from the right connects to the pushrod knob on the facia. It attaches to a floating lever
that is then connected to the turnouts--one directly, the other through a pair of bell cranks--so that moving the pushrod
will operate both turnouts at the same time.
March 20, 2005
 On this day, Fred and I were tracklaying machines. The entire E&P main from Cherry Street up to the end of track
at the hole in the wall was completed, along with much of the New Castle and Houston Secondaries. This first picture
shows the E&P main glued down past Shenango China.
On this day, Fred and I were tracklaying machines. The entire E&P main from Cherry Street up to the end of track
at the hole in the wall was completed, along with much of the New Castle and Houston Secondaries. This first picture
shows the E&P main glued down past Shenango China.
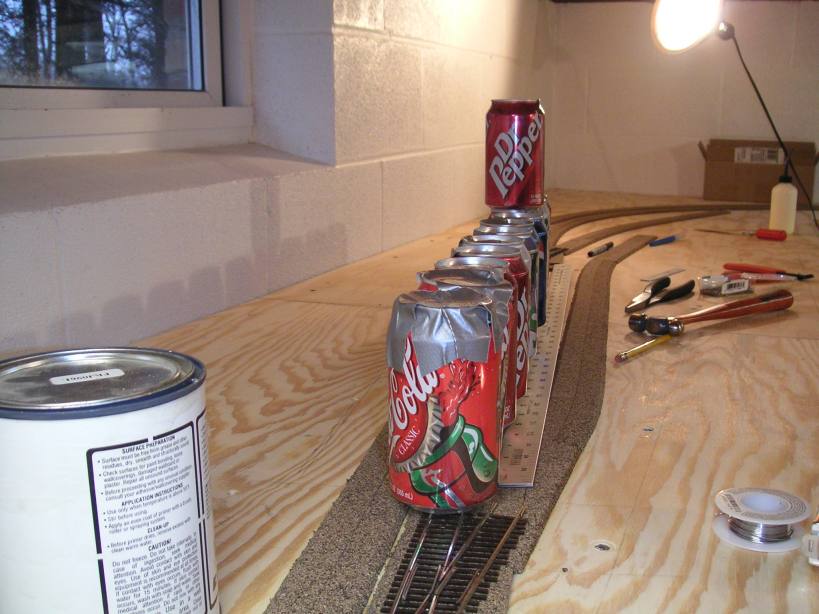
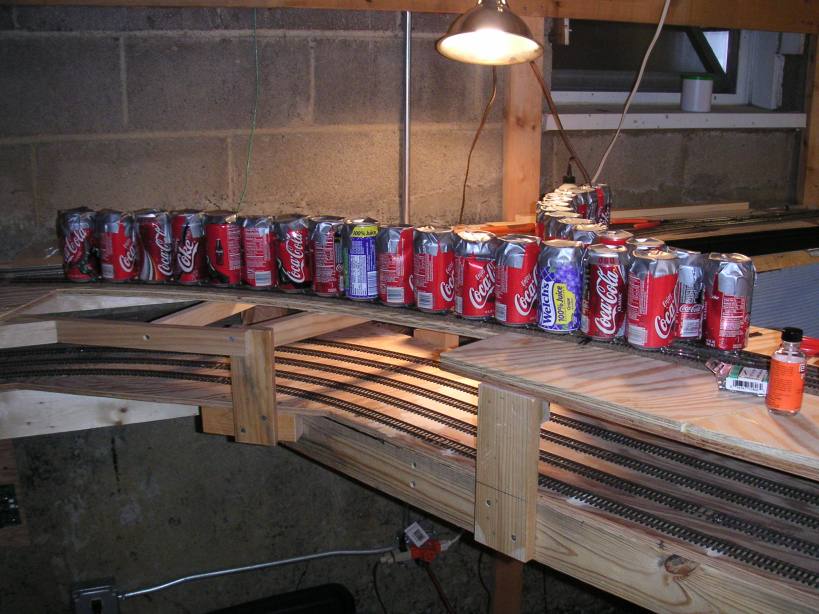
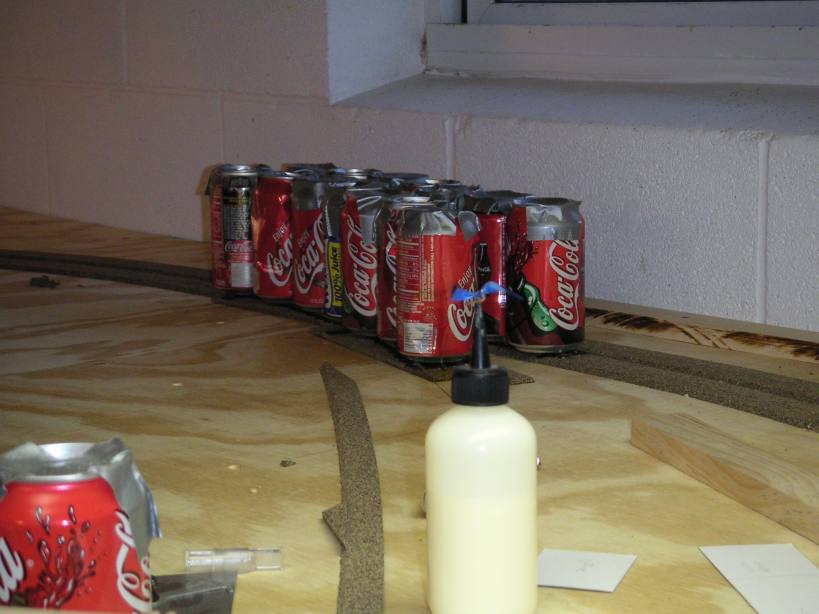
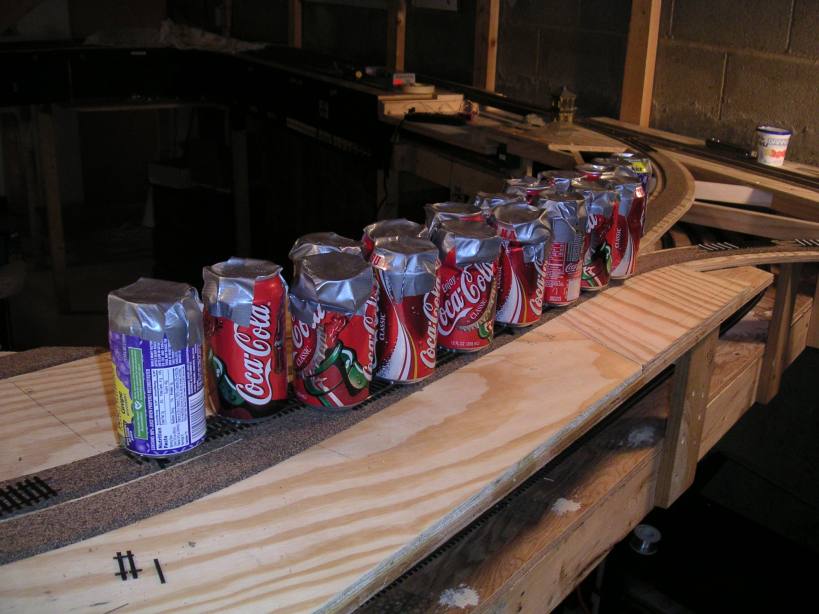
 Track in place at Mahoning Avenue, including the part of the Houston Secondary. Notice the regular pop cans to
the right rear of the picture. We actually ran out of our pop can weights (empty cans filled with sand), so I ran upstairs
and grabbed a few six-packs of Coke that I bought earlier in the week at Sam's Club and kept going!
Track in place at Mahoning Avenue, including the part of the Houston Secondary. Notice the regular pop cans to
the right rear of the picture. We actually ran out of our pop can weights (empty cans filled with sand), so I ran upstairs
and grabbed a few six-packs of Coke that I bought earlier in the week at Sam's Club and kept going!
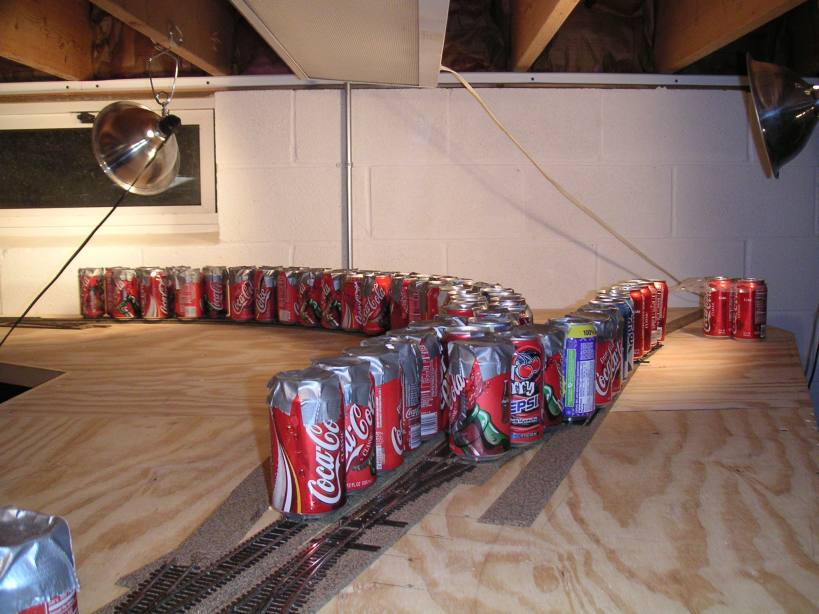
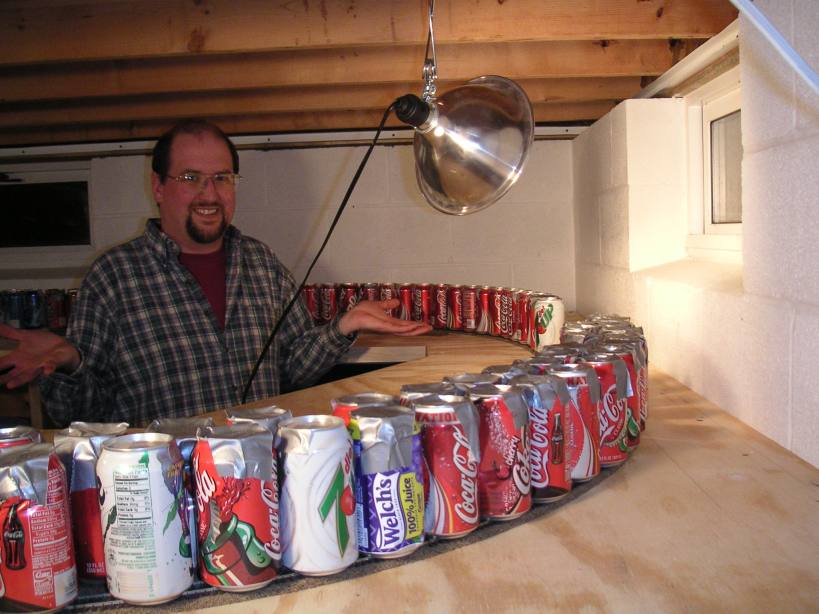 This is a lot of pop cans!
 A wide-angle view of the day's work. The next day I went downstairs and removed the cans and nails, as the HO
scale residents of New Castle were getting a little upset at the aluminum wall through their town...
A wide-angle view of the day's work. The next day I went downstairs and removed the cans and nails, as the HO
scale residents of New Castle were getting a little upset at the aluminum wall through their town...
March 13, 2005
 Today we began laying track in earnest. The first track to go in was both legs of the wye at Castle.
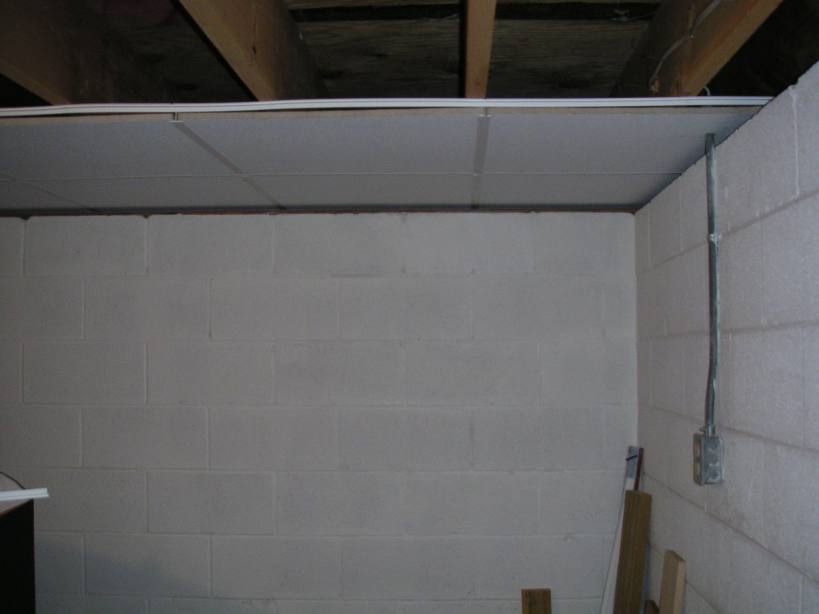 Earlier in the week, I began work on the ceiling. I'm using a product called CeilingMAX that allows a tile ceiling to
be attached directly to the joists. Since the ceiling on this side of the basement only clears the top of my head by
a couple of inches, I couldn't give up any more height by installing a suspended ceiling. So far I'm pleased with how
the CeilingMAX has worked out, but I'm holding off installing more until the wiring is complete for the layout lighting.
Earlier in the week, I began work on the ceiling. I'm using a product called CeilingMAX that allows a tile ceiling to
be attached directly to the joists. Since the ceiling on this side of the basement only clears the top of my head by
a couple of inches, I couldn't give up any more height by installing a suspended ceiling. So far I'm pleased with how
the CeilingMAX has worked out, but I'm holding off installing more until the wiring is complete for the layout lighting.
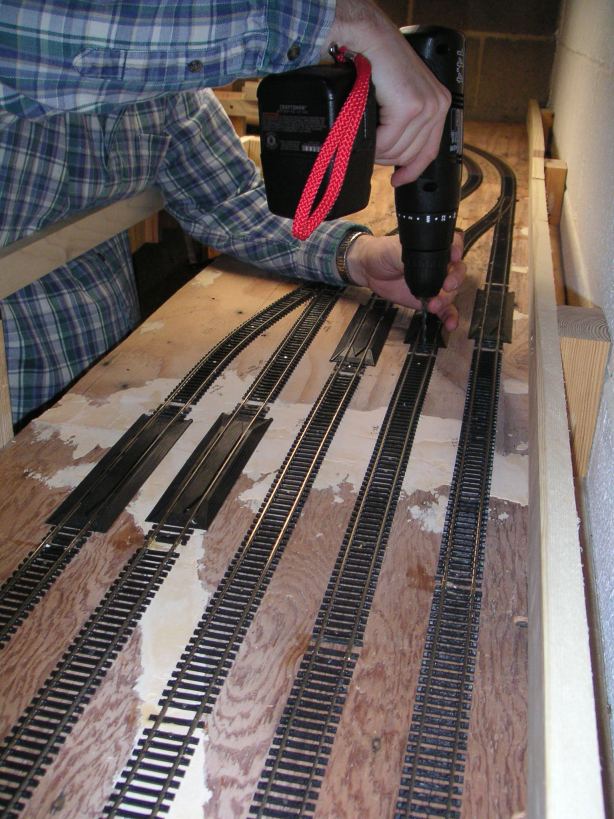
 The turnouts at the west end of the New Castle Secondary are glued in place and weighted down.
 Blaine is applying styrene strip shims to the bottom of a piece of Walthers track that is used to transition between
Atlas and Walthers code 83 track. While the rail heights are the same, the Atlas ties are thicker, and this can cause
problems, so when we transition between the two brands of track, we shim up one end of the transition piece to mate
up better with the Atlas flextrack.
Blaine is applying styrene strip shims to the bottom of a piece of Walthers track that is used to transition between
Atlas and Walthers code 83 track. While the rail heights are the same, the Atlas ties are thicker, and this can cause
problems, so when we transition between the two brands of track, we shim up one end of the transition piece to mate
up better with the Atlas flextrack.
 The Washington Street crossover, with glue underneath and weights on top.
March 6, 2005
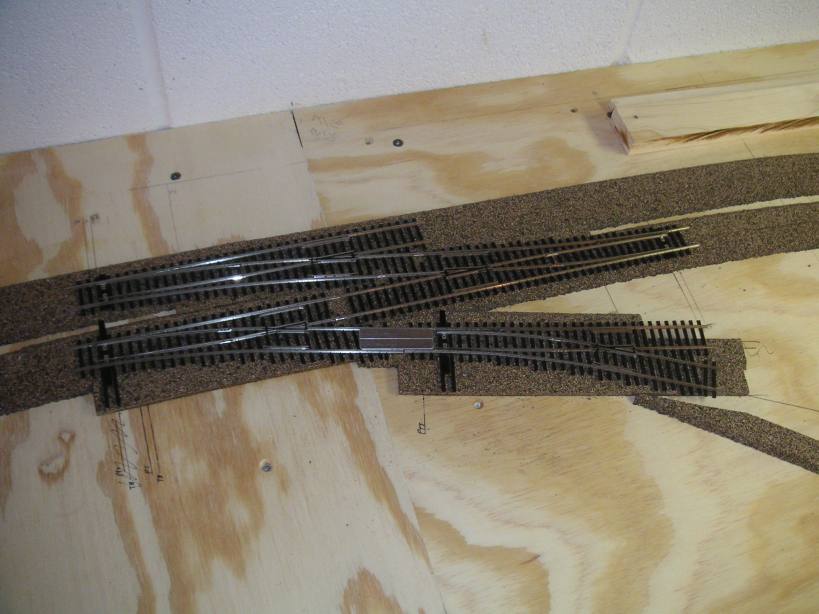
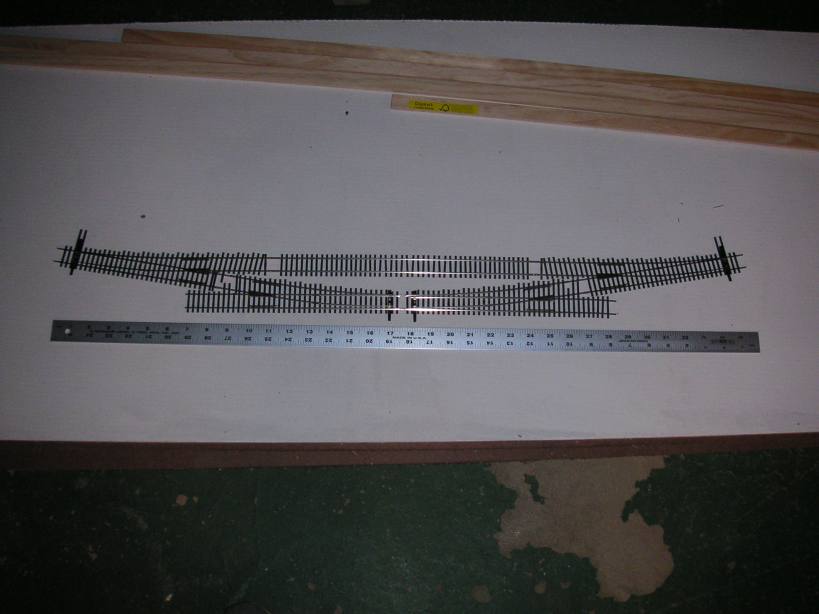 Fred, in his role as "Switch Doctor", modified four Walthers no. 6 code 83 turnouts and soldered them
together to make this custom double crossover that will be installed at Cherry Street.
Fred, in his role as "Switch Doctor", modified four Walthers no. 6 code 83 turnouts and soldered them
together to make this custom double crossover that will be installed at Cherry Street.
 Meanwhile, cork was being installed on the Houston Secondary. Notice the change on the right from the original
prototyping session--I moved the turnout for Pittsburgh Coal & Junk to come off the lead into the large industry
instead of off the Houston Secondary itself. This provided a longer lead to the junk yard to allow an extra car to be
spotted in it.
Meanwhile, cork was being installed on the Houston Secondary. Notice the change on the right from the original
prototyping session--I moved the turnout for Pittsburgh Coal & Junk to come off the lead into the large industry
instead of off the Houston Secondary itself. This provided a longer lead to the junk yard to allow an extra car to be
spotted in it.
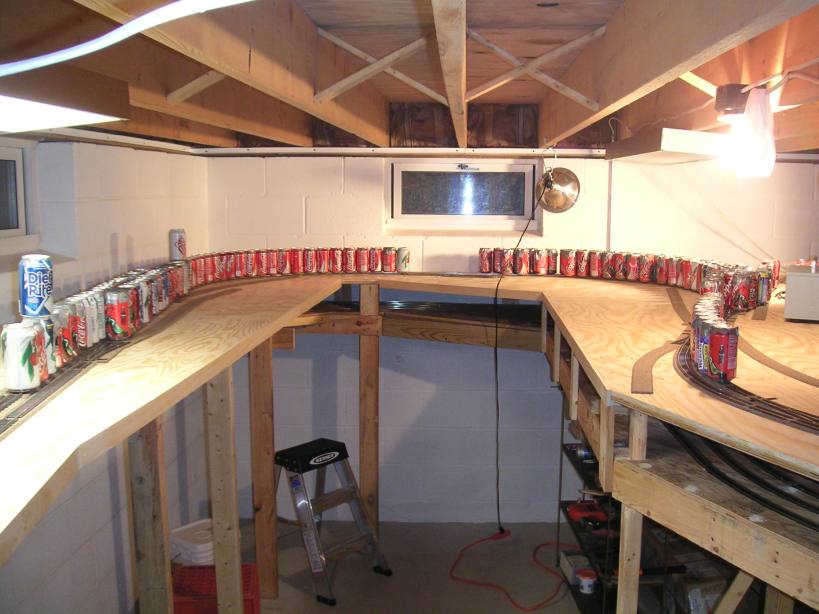
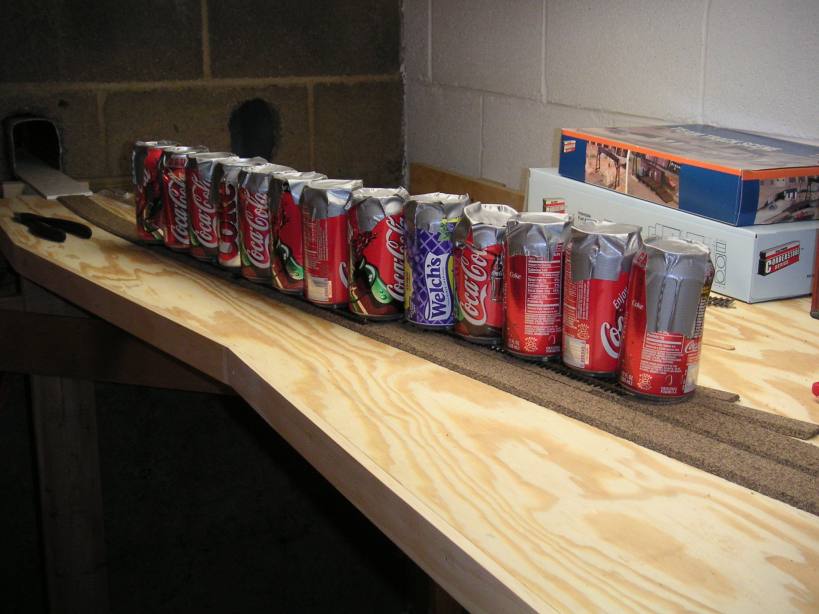
 Bring out your cans! The pop can weights make an appearance as the Cherry Street crossovers are set in
place and glued down.
Bring out your cans! The pop can weights make an appearance as the Cherry Street crossovers are set in
place and glued down.
 The cork is in place for the brewery spur, Merit Oil, along with turnouts going to Lawrence Ice and the south spur of
Shenango China.
The cork is in place for the brewery spur, Merit Oil, along with turnouts going to Lawrence Ice and the south spur of
Shenango China.
 The "Switch Doctor" shows off his latest work--the trackwork at Washington Street. This consists of two
no. 6 turnouts for a crossover, a no. 4 turnout off the main going into another no. 4 turnout which will go to the leads
to the freight house and team track.
The "Switch Doctor" shows off his latest work--the trackwork at Washington Street. This consists of two
no. 6 turnouts for a crossover, a no. 4 turnout off the main going into another no. 4 turnout which will go to the leads
to the freight house and team track.
Feburary 6, 2005
 Now that the cork for the main line and the NC Secondary is in place, it was time to go back and start putting in
roadbed for the industrial spurs and their turnouts. Here's me working on placing the turnouts to Associated Box
and Elliot Bros. Steel/Mooney Brothers.
Now that the cork for the main line and the NC Secondary is in place, it was time to go back and start putting in
roadbed for the industrial spurs and their turnouts. Here's me working on placing the turnouts to Associated Box
and Elliot Bros. Steel/Mooney Brothers.
January 30, 2005
 I spent some time "prototyping" what New Castle will look like, including laying out spurs, streets, and
structures. I used pieces of flextrack nailed temporarily in place along with turnouts to figure out where everything
is/can go. This first view shows the south side of New Castle. The Cherry Street crossovers will be at the left rear
where the white turnout boxes are. The yellow structure is Associated Box Company. The two yardsticks in the
foreground marks roughly where Mahoning Avenue will go. On the far side of the street at the left are some pieces
from a Walthers Vulcan Manufacturing kit that will represent Fleming Structural Steel.
I spent some time "prototyping" what New Castle will look like, including laying out spurs, streets, and
structures. I used pieces of flextrack nailed temporarily in place along with turnouts to figure out where everything
is/can go. This first view shows the south side of New Castle. The Cherry Street crossovers will be at the left rear
where the white turnout boxes are. The yellow structure is Associated Box Company. The two yardsticks in the
foreground marks roughly where Mahoning Avenue will go. On the far side of the street at the left are some pieces
from a Walthers Vulcan Manufacturing kit that will represent Fleming Structural Steel.
 Looking the other direction from the previous picture, we see the lines of the E&P main and New Castle Secondary
curving off to the left towards Washington Street, and the Houston Secondary and spurs on the right. The large
cardboard box will represent an as-yet-undetermined large industry in town (Johnson Bronze, United Engineering,
or Pennsylvania Engineering Corp.). The layout of the spurs was slightly modified in the final plan, but seeing it on
the plywood helped me visualize how everything would fit together and avoid making the layout too cluttered.
Looking the other direction from the previous picture, we see the lines of the E&P main and New Castle Secondary
curving off to the left towards Washington Street, and the Houston Secondary and spurs on the right. The large
cardboard box will represent an as-yet-undetermined large industry in town (Johnson Bronze, United Engineering,
or Pennsylvania Engineering Corp.). The layout of the spurs was slightly modified in the final plan, but seeing it on
the plywood helped me visualize how everything would fit together and avoid making the layout too cluttered.
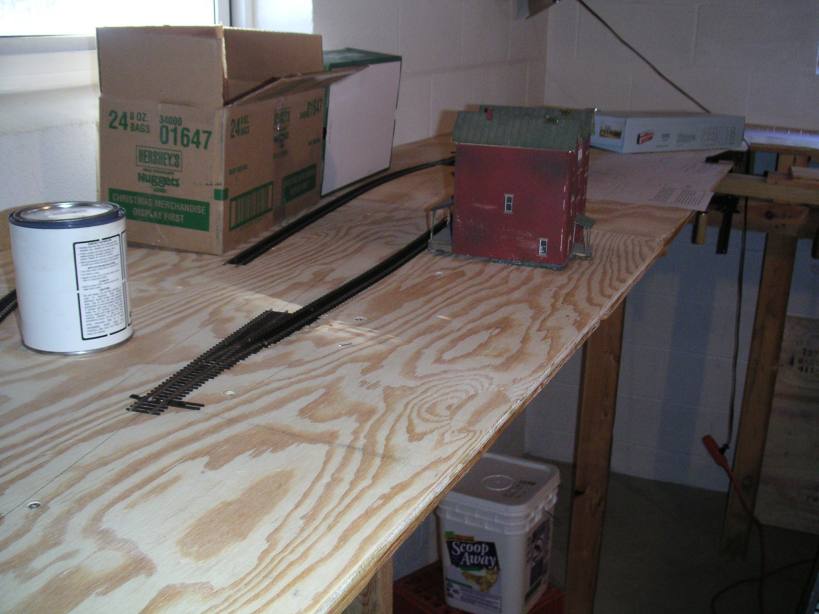 Here is my mockup of Grant Street industrial area. The cardboard boxes represent Shenango China. The paint can
represents an oil tank on the Shenango China property that appears to have been served off of their northern spur,
barely visible on the left. The red building will be used for the Union Brewery, while the blue Walthers box in the
background is an Interstate Fuel & Oil kit that will be used for Merit Oil.
Here is my mockup of Grant Street industrial area. The cardboard boxes represent Shenango China. The paint can
represents an oil tank on the Shenango China property that appears to have been served off of their northern spur,
barely visible on the left. The red building will be used for the Union Brewery, while the blue Walthers box in the
background is an Interstate Fuel & Oil kit that will be used for Merit Oil.
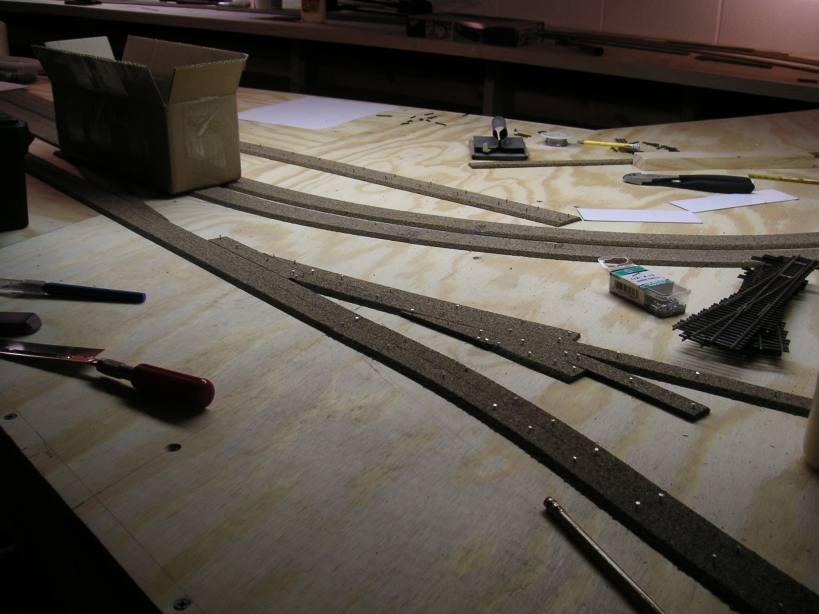
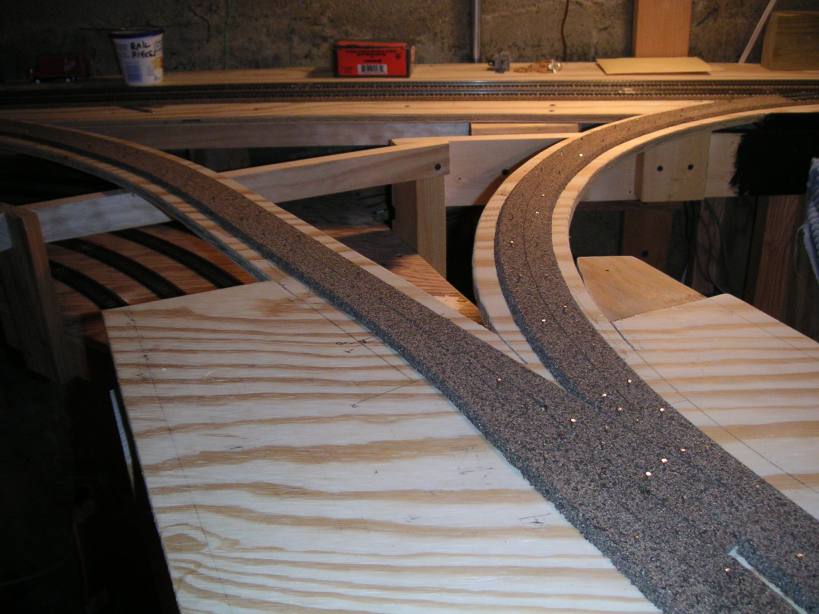
 Let's get corked! Roadbed starts going down near the curve at Grant Street. Notice how the cork was laid along one
side of the nails. These nails will then be pulled up so the other side of the cork can go down.
Let's get corked! Roadbed starts going down near the curve at Grant Street. Notice how the cork was laid along one
side of the nails. These nails will then be pulled up so the other side of the cork can go down.
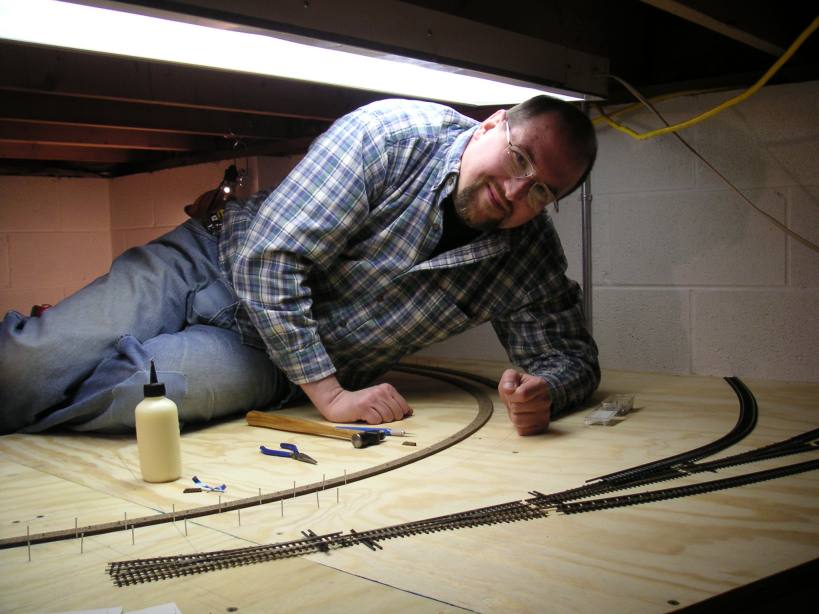 Tangable proof of how strong the 1" plywood is--I had to lay on it in order to reach the curve between
Mahoning Avenue and Washington Street while laying roadbed.
Tangable proof of how strong the 1" plywood is--I had to lay on it in order to reach the curve between
Mahoning Avenue and Washington Street while laying roadbed.
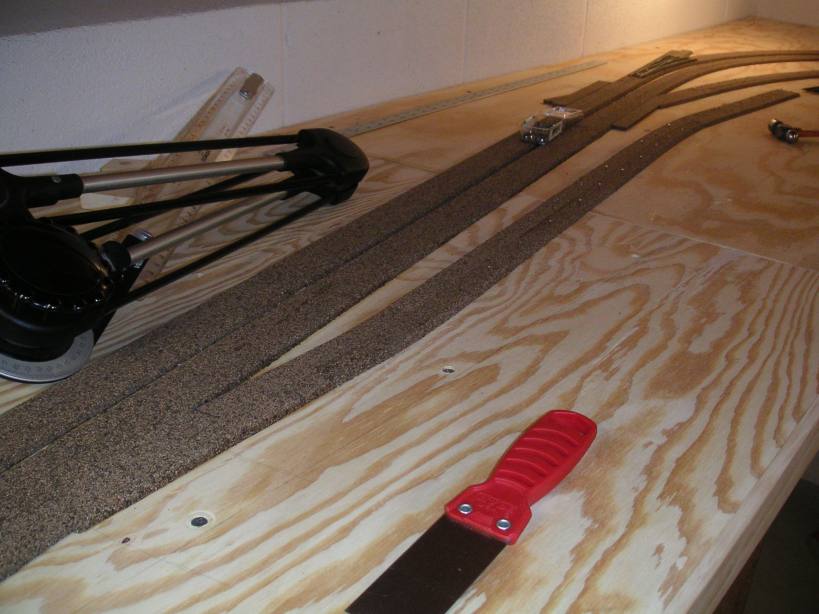
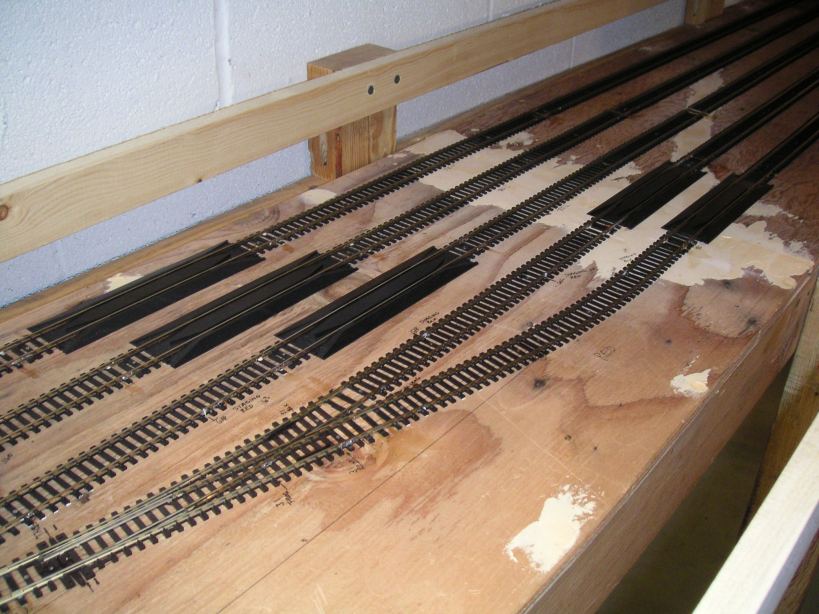
 The cork is complete on the Castle wye and the Cherry Street crossovers.
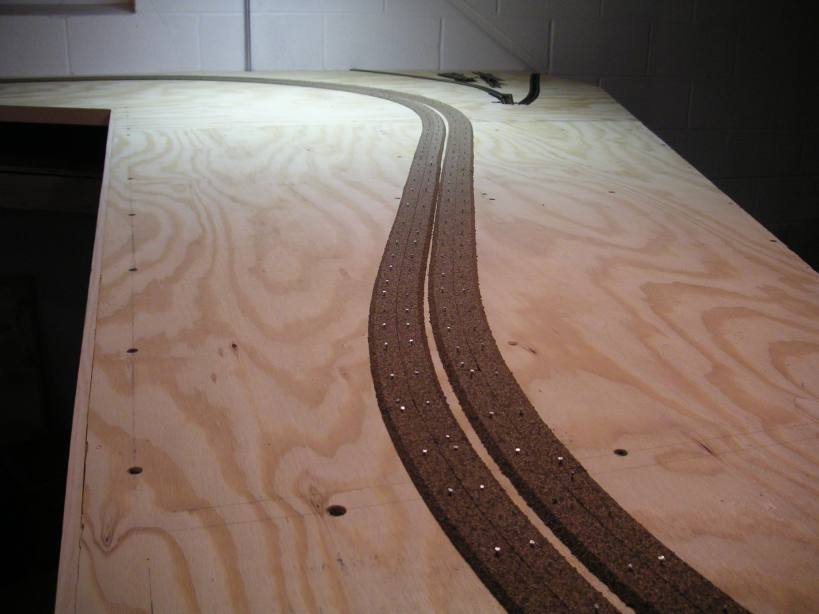 And up through New Castle towards Washington Street.
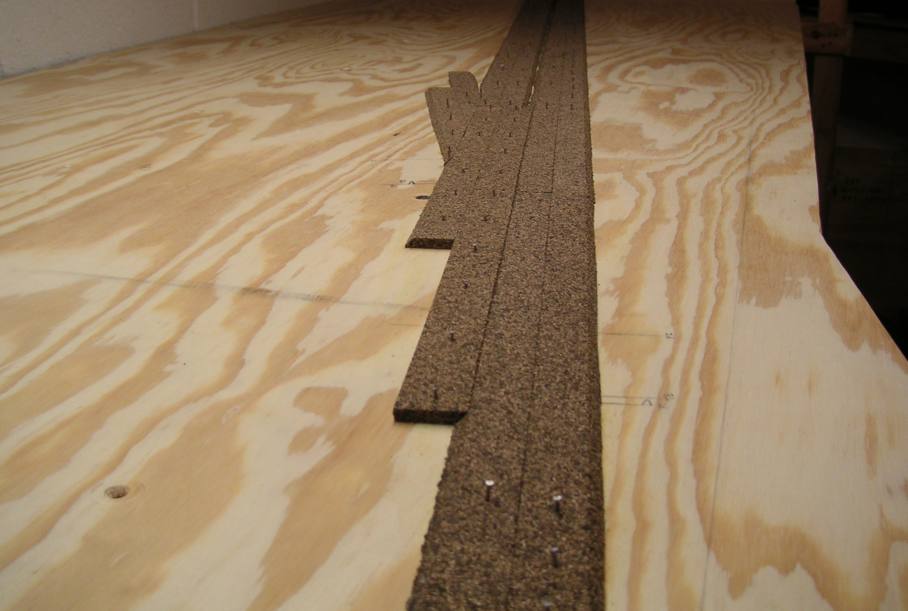 Here's the cork in place at the west end of the New Castle Secondary where it joins the main. It shows how we built
the cork under switches without using a lot fancy cutting. The extra pieces of cork will be trimmed down later, or left
in place to hold the switch stands at the points. The cork going off the left at the top is the north spur for Shenango China.
Here's the cork in place at the west end of the New Castle Secondary where it joins the main. It shows how we built
the cork under switches without using a lot fancy cutting. The extra pieces of cork will be trimmed down later, or left
in place to hold the switch stands at the points. The cork going off the left at the top is the north spur for Shenango China.
January 23, 2005
 A view of what will become New Castle after all of the blocks, clamps, and screws were removed.
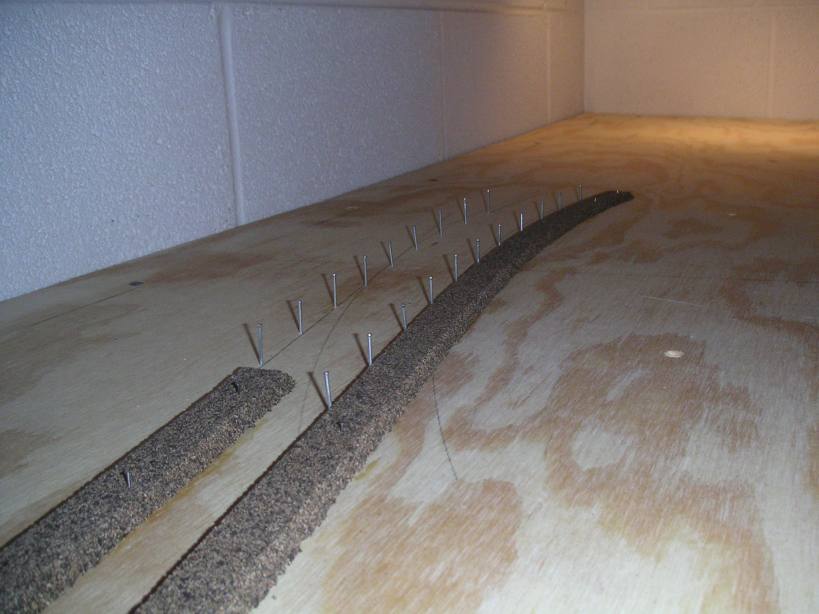
 To transfer the lines of the curve drawings to the plywood, we put nails into the wood on one side of where the cork will go.
These nails were then used to lay one side of the roadbed. Afterwards, the nails were removed, and the other side of
the cork was put down.
To transfer the lines of the curve drawings to the plywood, we put nails into the wood on one side of where the cork will go.
These nails were then used to lay one side of the roadbed. Afterwards, the nails were removed, and the other side of
the cork was put down.
 Sometimes, curve centers end up being out in space, so we have to build up a base in order to mark the curve center
to use the trammel to draw the curve. This contraption was assembled to draw the curves west of the Cherry Street
crossovers. The wye at Castle is in the background.
Sometimes, curve centers end up being out in space, so we have to build up a base in order to mark the curve center
to use the trammel to draw the curve. This contraption was assembled to draw the curves west of the Cherry Street
crossovers. The wye at Castle is in the background.
 The E&P main line (on the right) and the parallel New Castle Secondary Track (on the left) are drawn in place north
of Grant Street.
The E&P main line (on the right) and the parallel New Castle Secondary Track (on the left) are drawn in place north
of Grant Street.
 The first picture is the easement curve west of the Cherry Street crossovers. Nails were driven through it with the edges of the nails
on the center line, to be used to position the cork roadbed. The second picture shows me carefully removing the drawing
from the nails. This technique helped us to avoid pasting the drawing to the plywood and laying the roadbed over the
paper, as we had done between Moravia Yard and Wampum Junction previously.
The first picture is the easement curve west of the Cherry Street crossovers. Nails were driven through it with the edges of the nails
on the center line, to be used to position the cork roadbed. The second picture shows me carefully removing the drawing
from the nails. This technique helped us to avoid pasting the drawing to the plywood and laying the roadbed over the
paper, as we had done between Moravia Yard and Wampum Junction previously.
January 16, 2005
 Here are two examples of the trim pieces we put on the edge of the double-layer plywood. I cut these from 1x2
strips by using my table saw to notch out part of the wood in order to fit onto the plywood. You can see how they
make the edge of the plywood look better, plus they give me a place to attach the facia board that will hide the
staging yard tracks. (The facia will be hinged to allow access to the yard.)
Here are two examples of the trim pieces we put on the edge of the double-layer plywood. I cut these from 1x2
strips by using my table saw to notch out part of the wood in order to fit onto the plywood. You can see how they
make the edge of the plywood look better, plus they give me a place to attach the facia board that will hide the
staging yard tracks. (The facia will be hinged to allow access to the yard.)
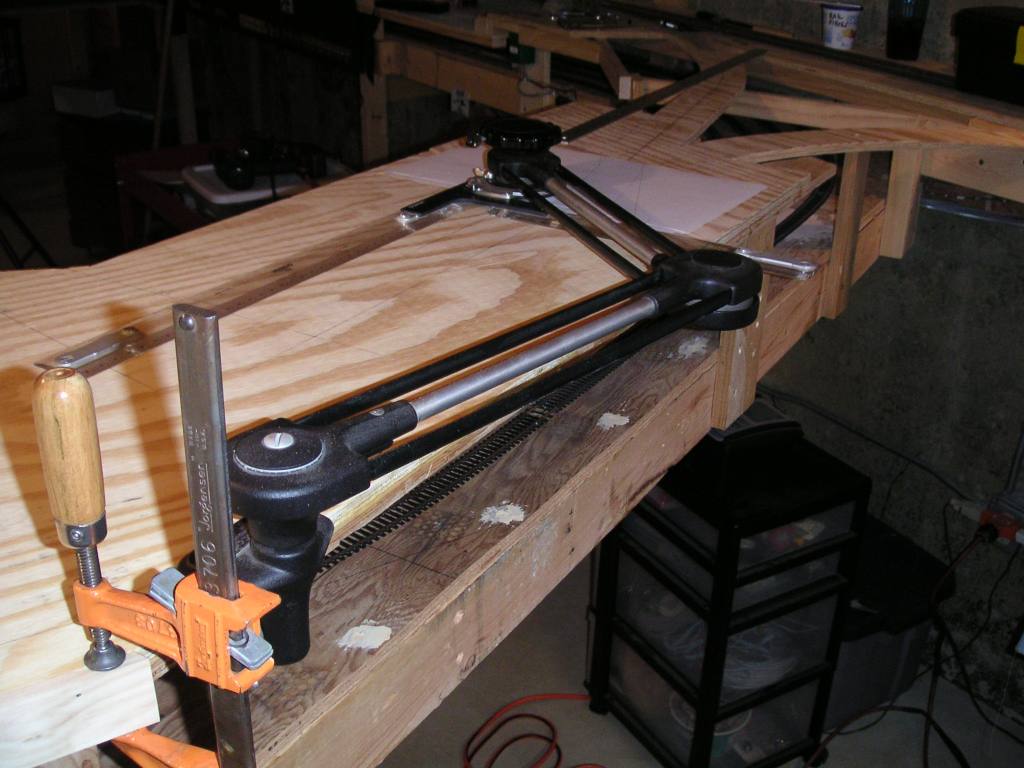 Fred brought this drafting machine to use to start laying out the track diagram on the plywood. Once the center lines
of the tracks are drawn, the cork roadbed will be laid on the lines.
Fred brought this drafting machine to use to start laying out the track diagram on the plywood. Once the center lines
of the tracks are drawn, the cork roadbed will be laid on the lines.
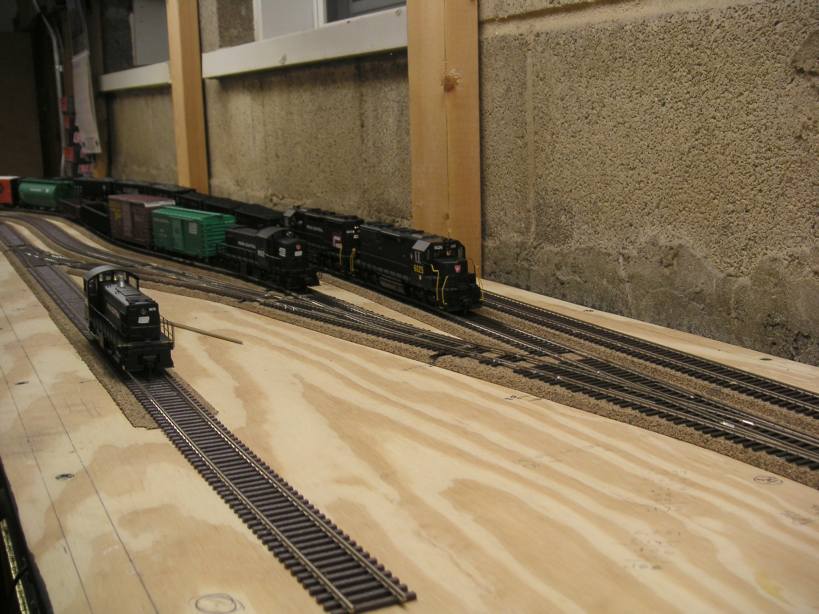
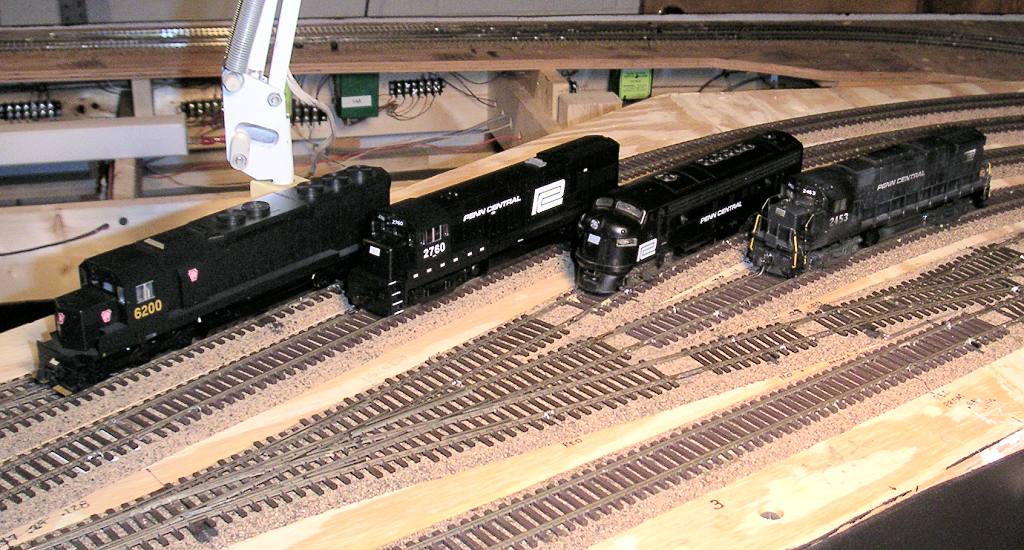 Over at Moravia Yard, here is a lineup of motive power. The engine on the left is a Kato SD45 in PRR paint. Next to it
is an Atlas U23B in PC colors. To its right is an old Atlas FP7 with a Roco mechanism that I installed a Digitrax
DH121 decoder in. On the far right is an old Atlas C425, custom painted for Penn Central, which received a Digitrax
DH163K0 decoder.
Over at Moravia Yard, here is a lineup of motive power. The engine on the left is a Kato SD45 in PRR paint. Next to it
is an Atlas U23B in PC colors. To its right is an old Atlas FP7 with a Roco mechanism that I installed a Digitrax
DH121 decoder in. On the far right is an old Atlas C425, custom painted for Penn Central, which received a Digitrax
DH163K0 decoder.
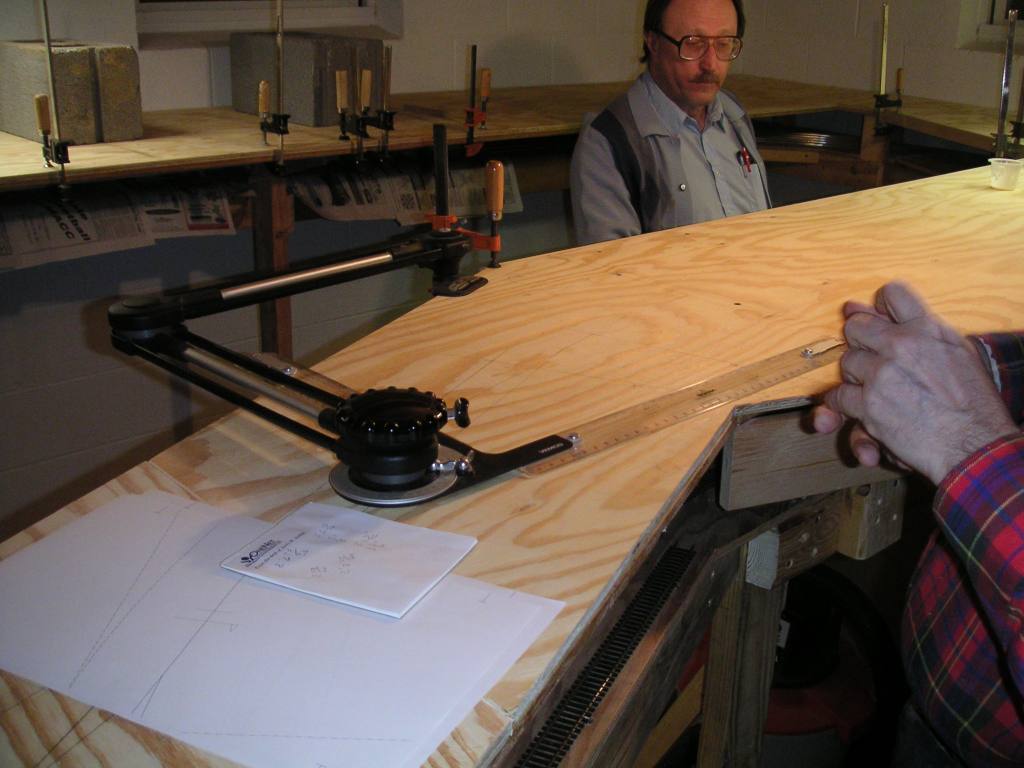 Fred gets ready to work on drawing the crossovers at Cherry Street while Blaine looks on.
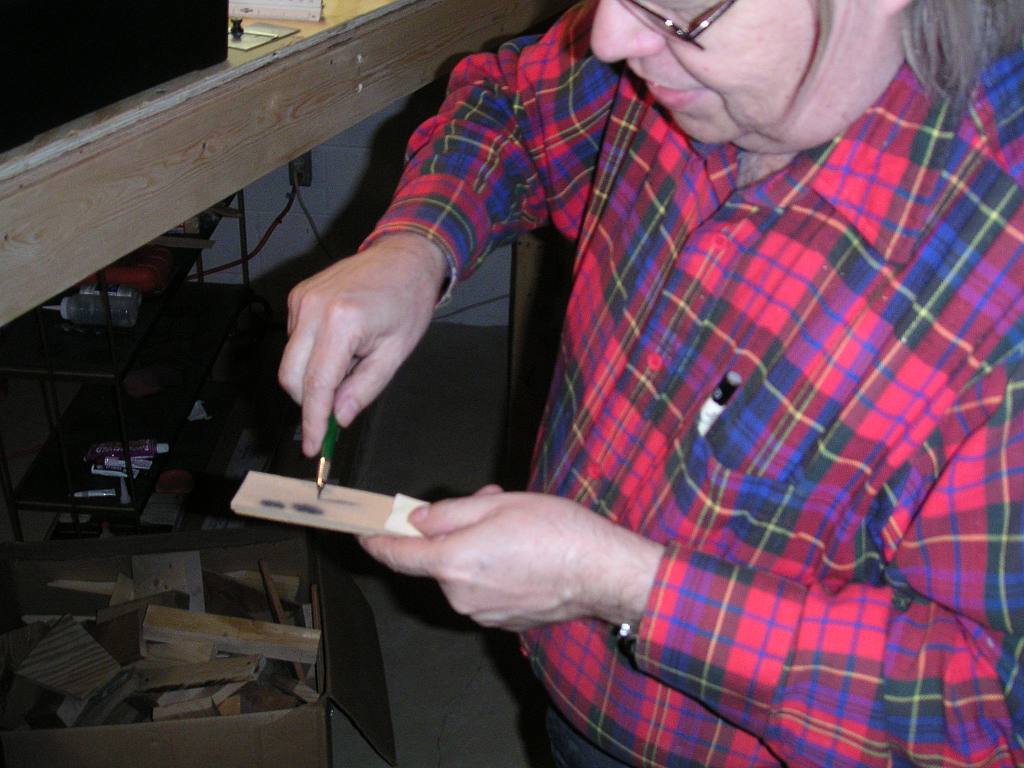 Fred sharpens his drawing pencil. Most teenagers today would have no idea what kind of pencil it is or how he is
sharpening it...
Fred sharpens his drawing pencil. Most teenagers today would have no idea what kind of pencil it is or how he is
sharpening it...
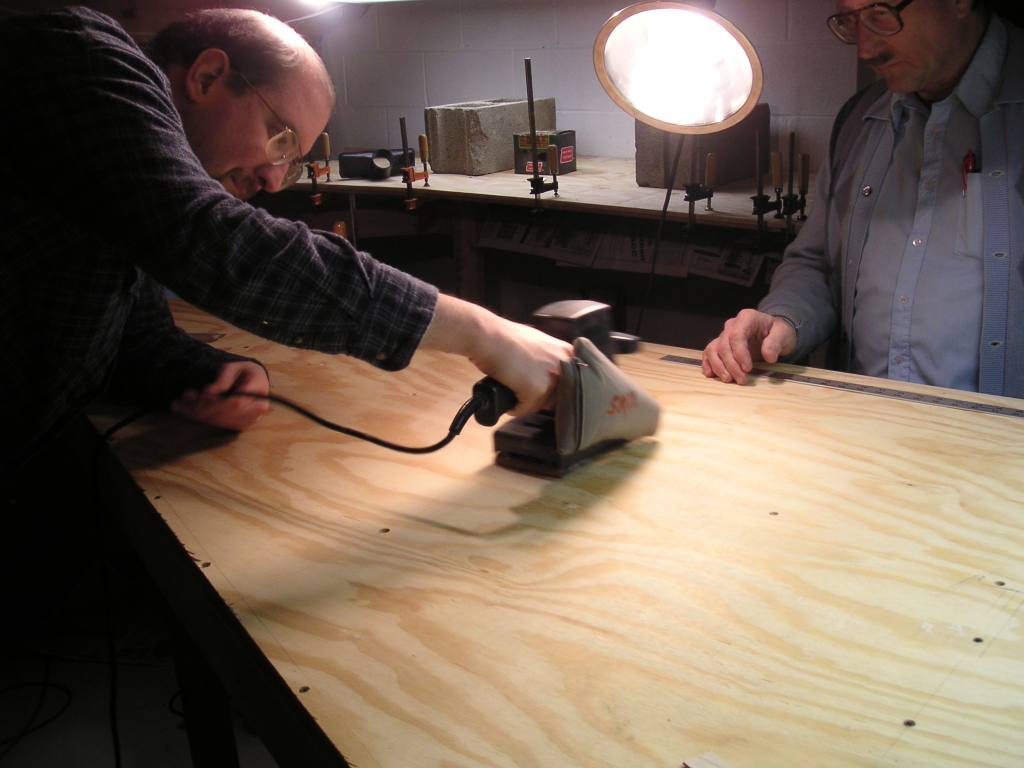 Sometimes, we make mistakes while drawing. Unfortunately, erasers usually don't work, so you have to get out
the sander...
Sometimes, we make mistakes while drawing. Unfortunately, erasers usually don't work, so you have to get out
the sander...
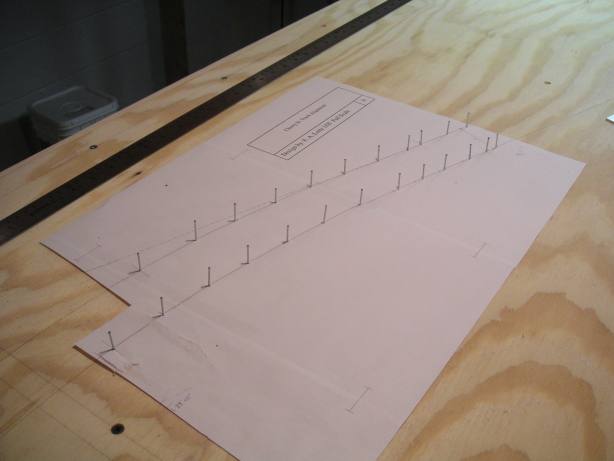
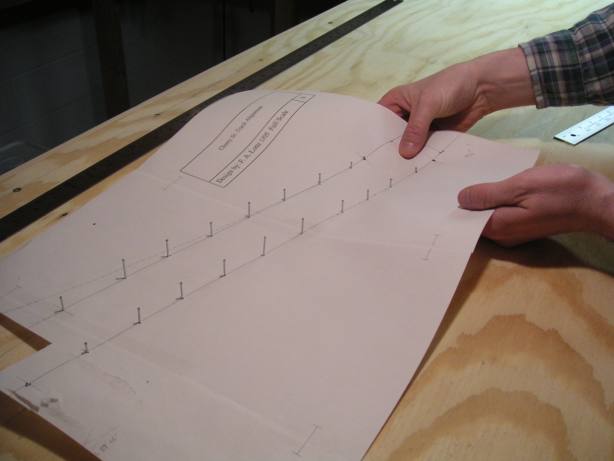
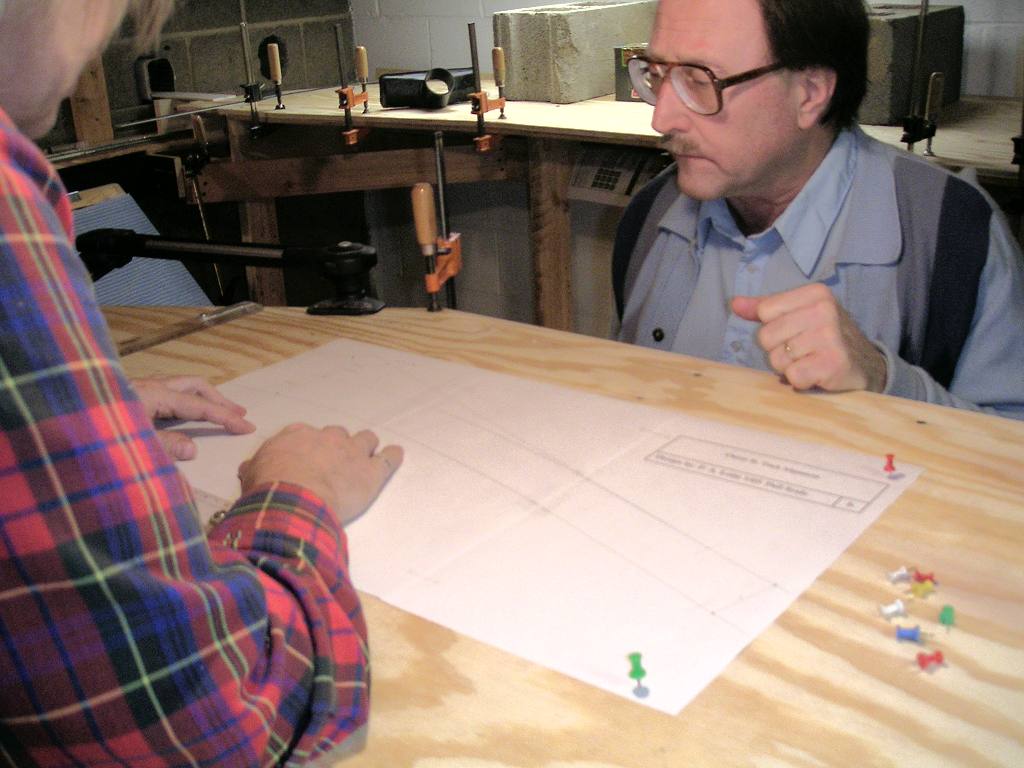 As on other parts of the layout, we sometimes use full-size printouts of the CAD drawing to lay out complicated
areas of track. Fred is examining the drawing for the Cherry Street crossovers.
As on other parts of the layout, we sometimes use full-size printouts of the CAD drawing to lay out complicated
areas of track. Fred is examining the drawing for the Cherry Street crossovers.
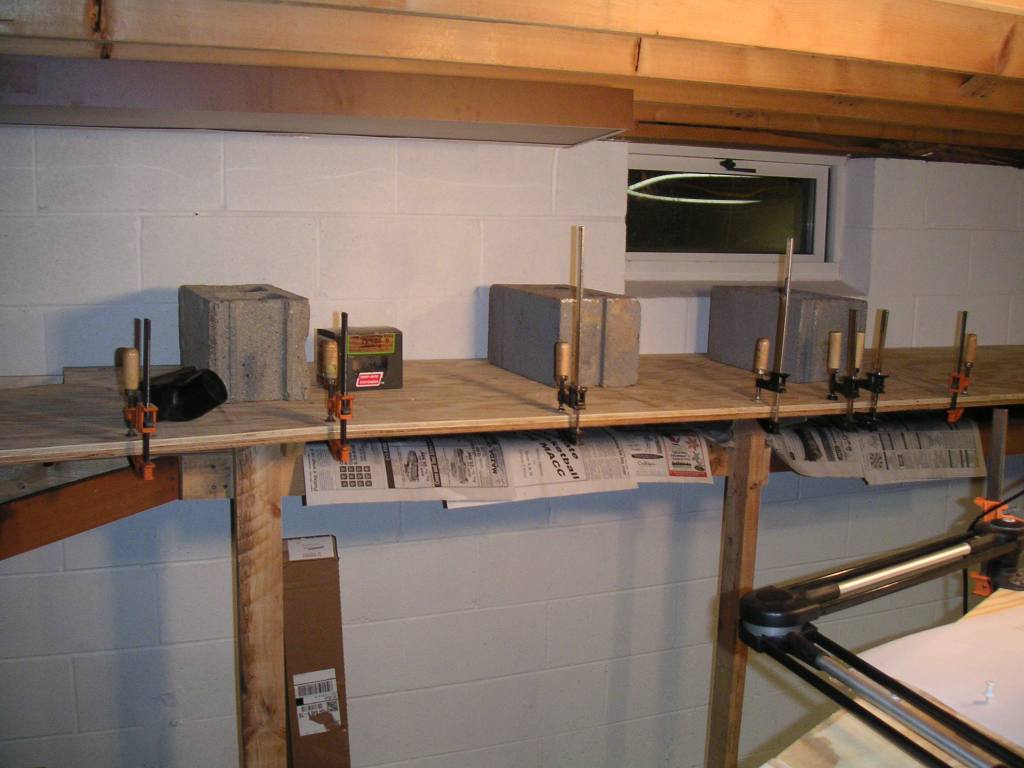
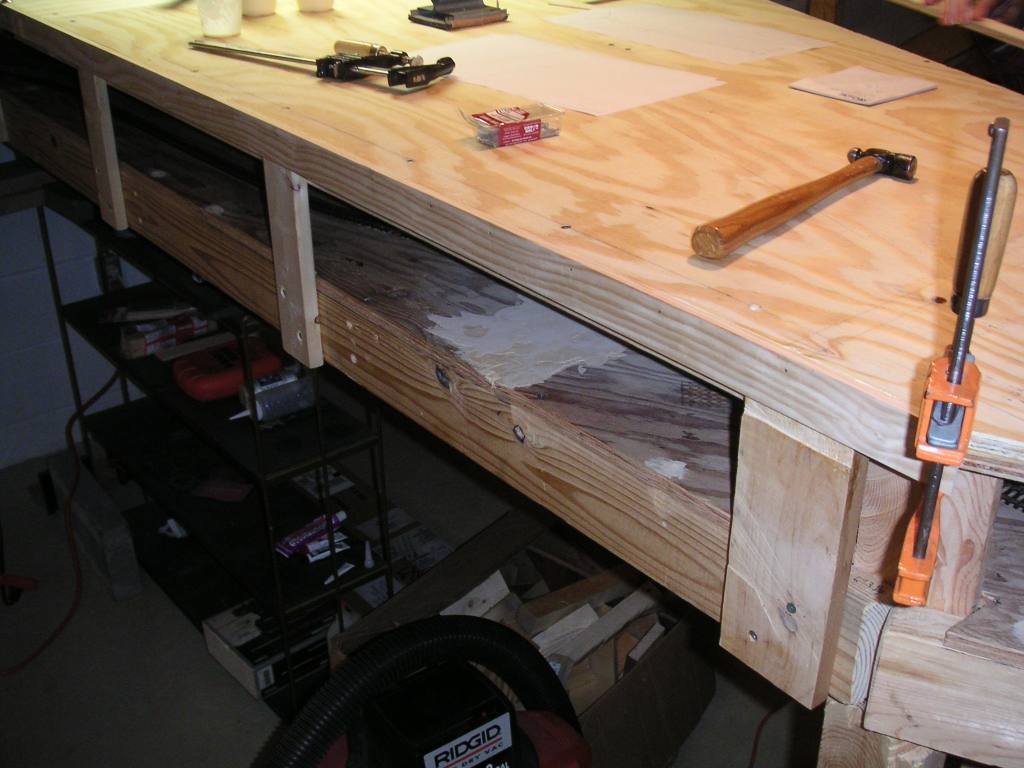
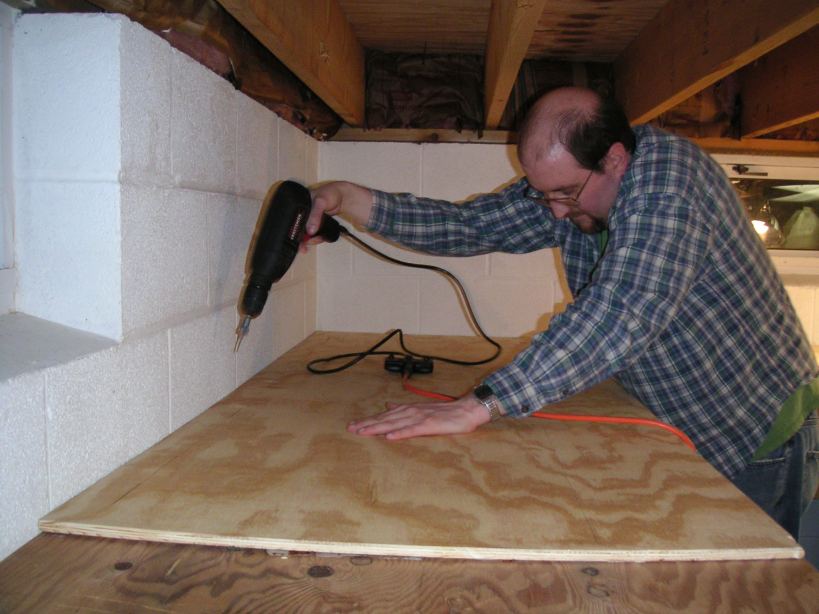
 The last pieces of plywood for the upper level were glued, clamped, and blocked into place.
January 2, 2005
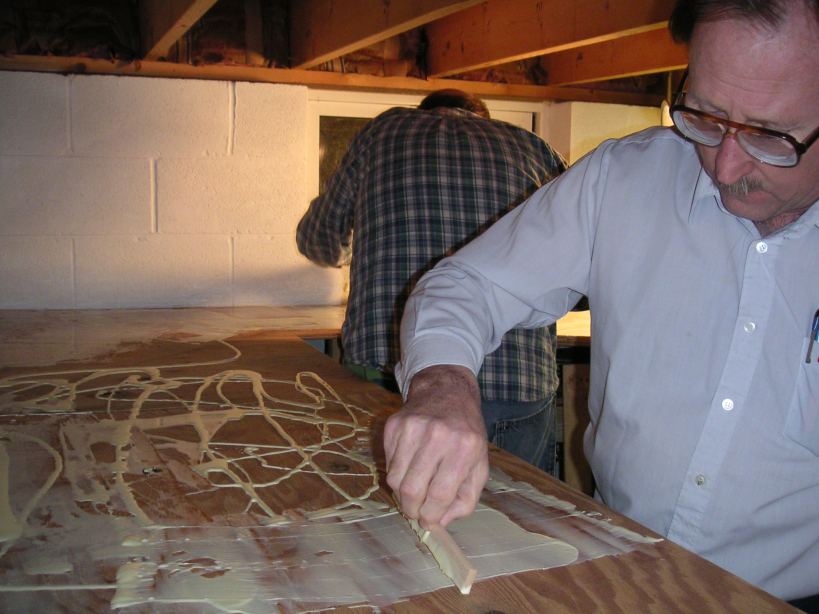
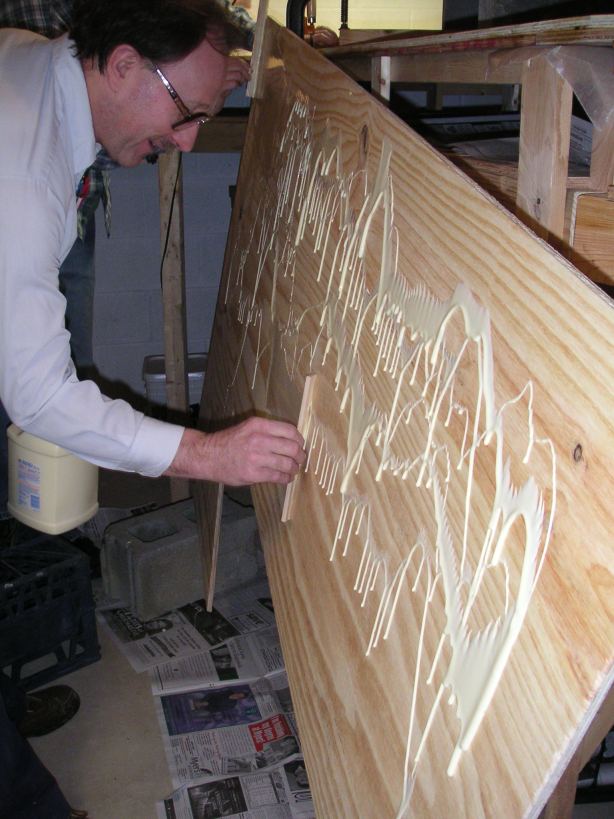
 The theme of this day was "Fun With Glue", as we glued together two more sheets of plywood for the
upper level. This is me carefully spreading glue in the section between Castle wye and Mahoning Avenue. The
lower level staging tracks were covered with newspapers to protect them from dripping glue.
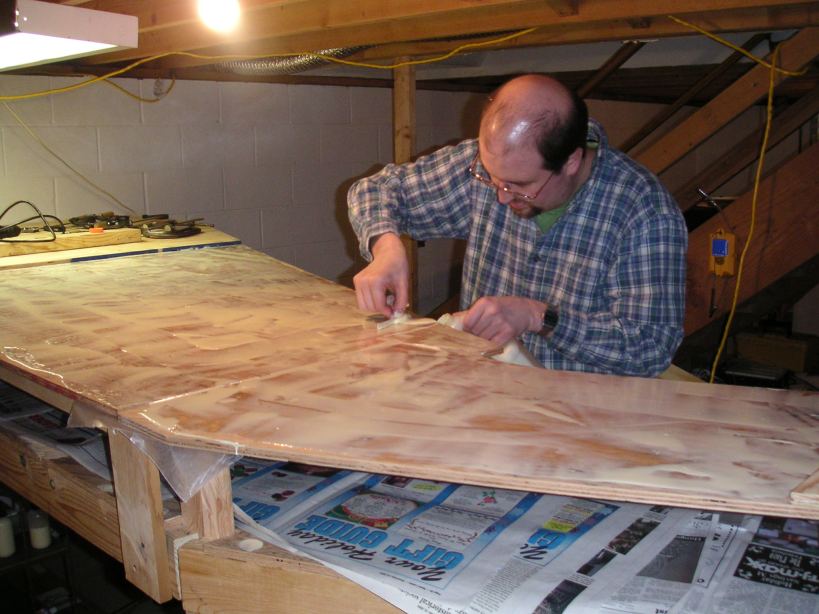
The theme of this day was "Fun With Glue", as we glued together two more sheets of plywood for the
upper level. This is me carefully spreading glue in the section between Castle wye and Mahoning Avenue. The
lower level staging tracks were covered with newspapers to protect them from dripping glue.
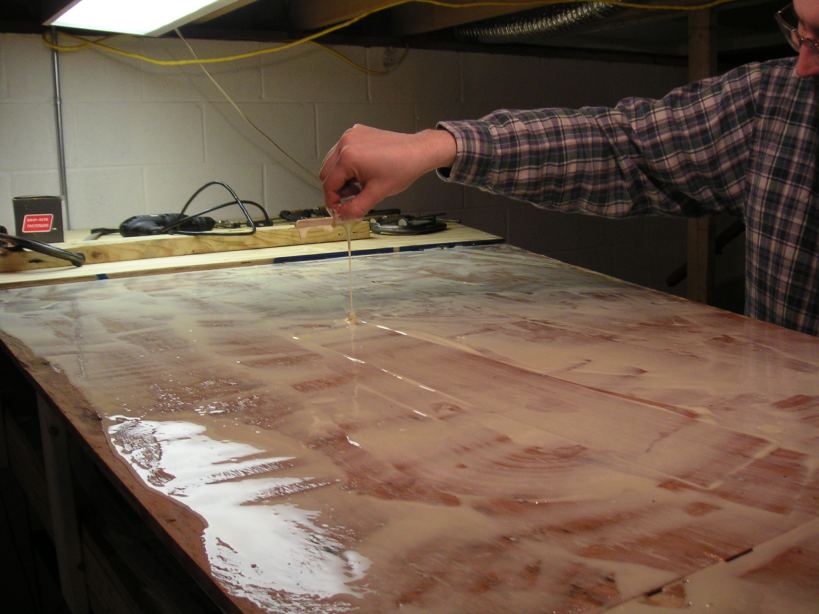 Glue, glue, everywhere...
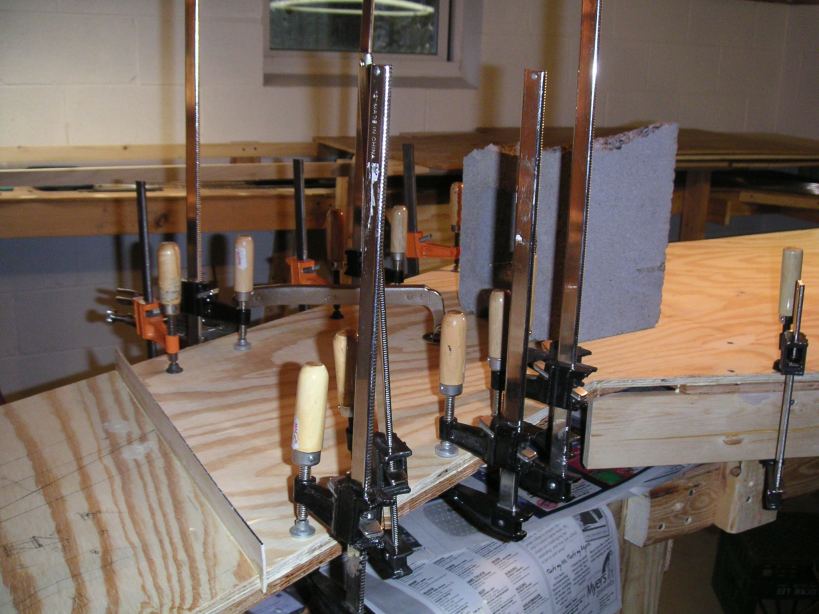 After the new plywood was set in place, the wood was held down was glue, clamps, and screws. This shows the clamps
in place at the duckunder.
After the new plywood was set in place, the wood was held down was glue, clamps, and screws. This shows the clamps
in place at the duckunder.
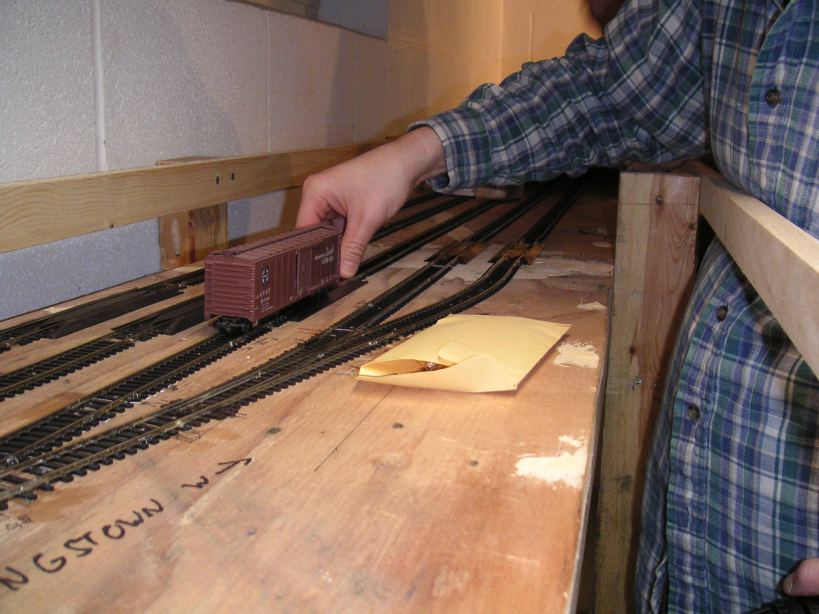 While Blaine and I got our fingers sticky with glue, Fred was cutting in the new rerailers at the Youngstown end
of the staging yard. I'm testing them out using a boxcar from my Suicide Fleet.
While Blaine and I got our fingers sticky with glue, Fred was cutting in the new rerailers at the Youngstown end
of the staging yard. I'm testing them out using a boxcar from my Suicide Fleet.
 Afterwards, I drilled holes in between the rails for the phototransistors that will be used for the detector circuits in
the yard.
Afterwards, I drilled holes in between the rails for the phototransistors that will be used for the detector circuits in
the yard.
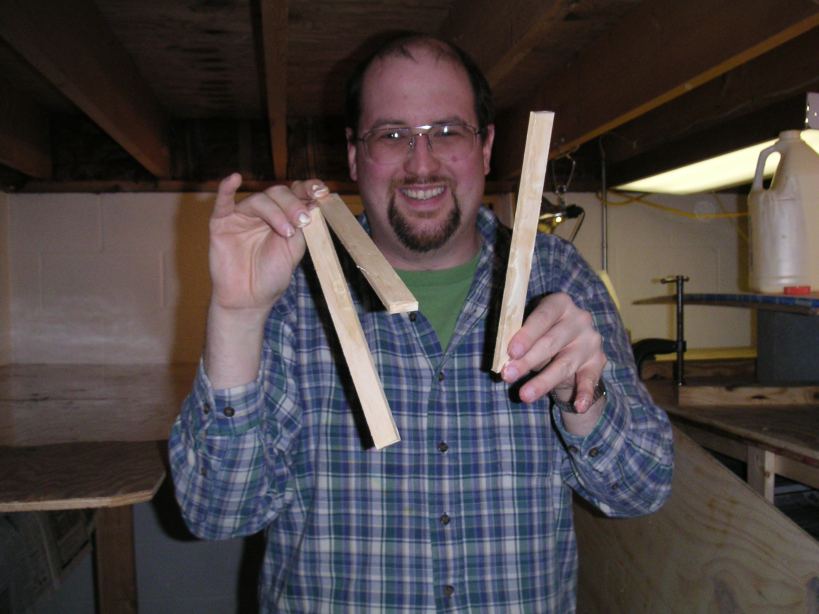
 The finished rerailers.
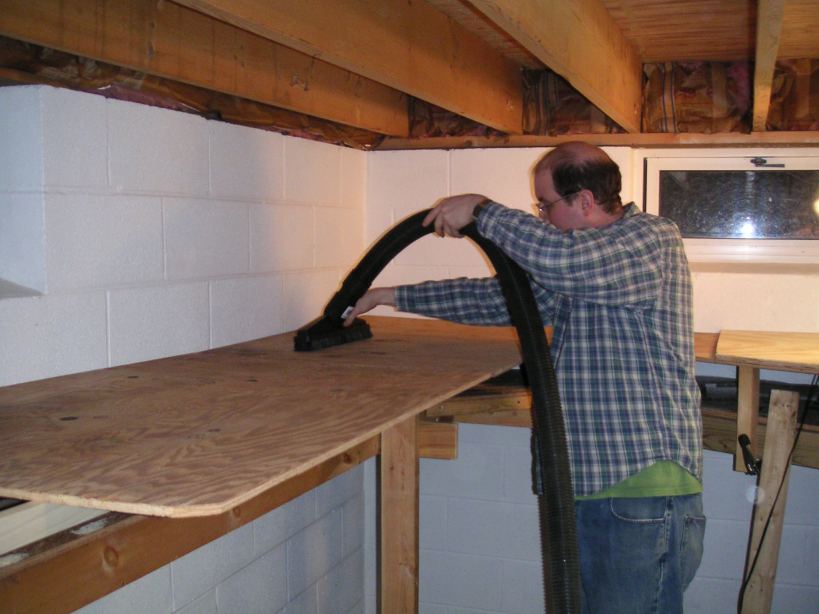 Before gluing in the next sheet of plywood, I used my shop vacuum to clean any dirt off of the lower plywood sheet.
 Blaine and I, spreading glue.
 Loving' every minute of it...
 Blaine starts spreading glue on the bottom of the top piece. For best results, always coat both surfaces with glue
before putting them together.
Blaine starts spreading glue on the bottom of the top piece. For best results, always coat both surfaces with glue
before putting them together.
 Time to go wash my hands!
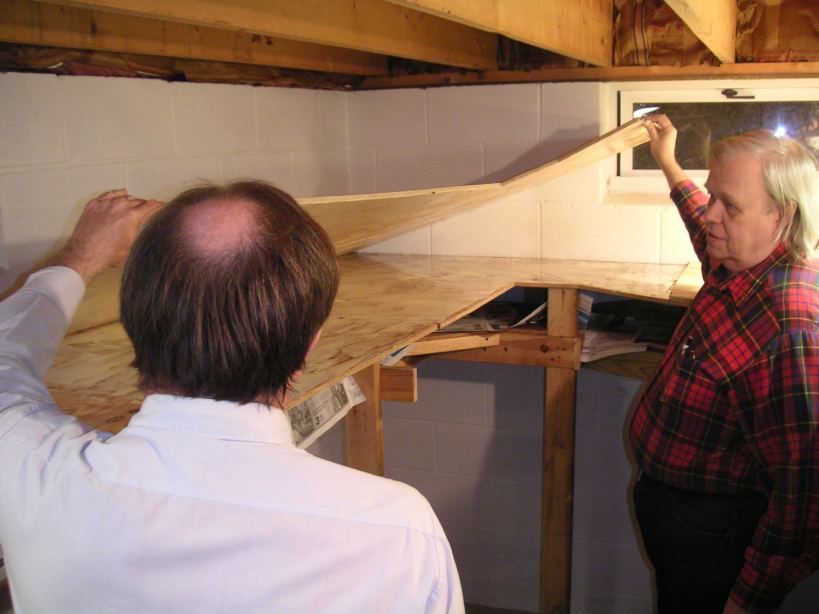 Fred and Blaine check the alignment of the plywood before putting the two pieces together.
 After the pieces have been stuck together, I put screws into the sheets to attach them to the supporting benchwork and
to help hold them tight together while the glue dried.
After the pieces have been stuck together, I put screws into the sheets to attach them to the supporting benchwork and
to help hold them tight together while the glue dried.
 The end result. Next time we'll take off the blocks and clamps and glue down the final piece.